Creating the official Django Polls app Part 4
Social Share:
Wednesday, January 8, 2025 at 10:45 AM | 9 min read
Last modified on Tuesday, July 14, 2026 at 11:48 AM
#fullstack development, #macOS, #djlint, #forms, #function-based views, #generic class based views, #series, #tutorial

Photo by David Clode on unsplash.com
Table of Contents
- Writing a minimal form
- Updating the vote view
- Using generic views
- Installing djLint
- Code associated with this post
- Code associated with the changes made in "Writing a minimal form" dated July 3, 2026
- Conclusion
- Related Resources
- Related Posts
Update (July 2026): This walkthrough was written against Django 5.1, which reached full end-of-life in December 2025 and is no longer receiving security patches. Run python -m django --version to check which version you have.
Writing a minimal form
Now I am going to update my detail.html template by adding an HTML form element:
<!-- polls/templates/polls/detail.html -->
<!DOCTYPE html>
<html lang="en">
    <head>
        <meta charset="UTF-8">
        <meta name="description" content="This is the Django Polls Home Page.">
        <meta name="keywords" content="polls, questions, choices, votes">
        <title>
            {% block title %}
                Django Polls Detail Page
            {% endblock title %}
        </title>
    </head>
    <body>
        {% block body %}
            <form action="{% url 'polls:vote' question.id %}" method="post">
            {% csrf_token %}
            <fieldset>
                <legend><h1>{{ question.question_text }}</h1></legend>
                {% if error_message %}<p><strong>{{ error_message }}</strong></p>{% endif %}
                {% for choice in question.choice_set.all %}
                <input type="radio" name="choice" id="{{choice.forloop.counter }}" value="{{ choice.id }}">
                 <label for="choice{{ forloop.counter }}">{{ choice.choice_text }}</label>
                <br>
                {% endfor %}
            </fieldset>
            <input type="submit" value="vote">
            </form>
        {% endblock body %}
    </body>
</html>
Note July 3, 2026: I changed {{ choice.Choice_text }} to {{ choice.choice_text }}. However, in the associated code for this section, {{ choice.Choice_text }} is what appears in django-polls/polls/templates/polls/detail.html. {{ choice.choice_text }} is used in the final django-polls/polls/templates/polls/detail.html code pushed to remote. Django template variable lookups are case-sensitive. This should be choice.choice_text (lowercase, as correctly used later in the "Creating the polls/results.html template" section). choice.Choice_text would render blank.
In addition, I inadvertently mismatched the id attribute value of the input of type "radio" with for attribute value of the label beneath it. The two values should be the same. So the id value for the input should also be choice{{ forloop.counter }}. This is a basic HTML standard. The problem is I placed the template tag boundary incorrectly. I will be sharing the commit containing that change at the end of this post.
The template above displays a radio button for each question choice. The value of each radio button is the associated question choice ID.
The name of the radio button is "choice". When someone selects one of the radio buttons and submits the form, it will send the POST data for choice=choice.id.
The form's action attribute defines where the data gets sent. Its value must be a valid relative or absolute URL. If the action attribute is not provided, the data is sent to the URL of the page containing the form. In other words, the current page. It is also possible to specify a URL that uses the HTTPS (secure HTTP) protocol.
When sending data to the backend, I need to use the POST method. The POST method is used to send data to the server to create/update a resource.
forloop.counter points out how many times the for tag must iterate through the loop.
Since I am creating a form which uses the POST method, I have to be concerned about Cross Site Request Forgeries (CSRF). Django comes with something called a CSRF token.
A CSRF token (Cross-Site Request Forgery token) is a unique, randomly generated security code created by a web server and sent to a user's browser to prevent malicious attacks for when an unauthorized entity tries to perform actions on a website using the user's active session without their knowing. It acts as a verification mechanism to ensure that a request originates from the authorized user and not a malicious third party.
All POST forms that target internal URLs should contain CSRF token template tags ({% csrf_token %}).
Updating the vote view
def vote(request, question_id):
    question = get_object_or_404(Question, pk=question_id)
    try:
        selected_choice = question.choice_set.get(pk=request.POST["choice"])
    except (KeyError, Choice.DoesNotExist):
        # Redisplay the question voting form.
        return render(request, "polls/detail.html", { "question": question, "error_message": "You didn't select a choice.", })
    else:
        selected_choice.votes = F("votes") + 1
        selected_choice.save()
        # Always return an HttpResponseRedirect after successfully dealing with POST data. This prevents data from being posted twice if a user hits the Back button.
        return HttpResponseRedirect(reverse("polls:results", args=(question.id,)))
- request.POST is a dictionary-like object that lets me access submitted data by key name. Here, request.POST['choice'] returns the ID of the selected choice, as a string. request.POST values are always strings.
- request.POST['choice'] will raise a KeyError if choice wasn’t provided in POST data. The above code checks for KeyError and re-displays the question form with an error message if a choice isn’t given.
- F("votes") + 1 tells the database to increase the vote count by 1.
- After incrementing the choice count, the code returns an HttpResponseRedirect instead of an HttpResponse. HttpResponseRedirect takes a single argument, the URL to which the user will be redirected.
- I should always return an HttpResponseRedirect after successfully dealing with POST data. This isn’t specific to Django. It’s good web development practice in general. Using HttpResponseRedirect prevents data from being posted twice if a user hits the Back button.
- reverse() is used to generate URLs dynamically based on their names,
instead of hardcoding them in my templates or views. This makes my d code
more maintainable and flexible, especially when my URL patterns change.
- reverse() separates my code from hardcoded URLs, making it easier to change URLs in the future without breaking my application.
- reverse() allows me to construct URLs with dynamic parameters.
- reverse() makes my code more readable by using meaningful names instead of raw URL patterns.
reverse() syntax:
from django.urls import reverse

reverse('view_name', args=None, kwargs=None, current_app=None)
Parameters:
view_name: the name of the view I want to generate a URL for, as defined in my urls.py file.
args(optional): a list of positional arguments to pass to the view.
kwargs(optional): a dictionary of keyword arguments to pass to the view.
current_app (optional): The name of the current app, used for namespacing URLs. In my Django Polls, I define app_name = "polls" in polls/urls.py. This then permits me to use "polls:vote" in the url tag in detail.html. I use current_app if I need to generate URLs for views in another app to specify the app namespace.
Example:
from django.urls import reverse

# In my polls/urls.py
path('<int:question_id>/results/', views.results, name='results'),

# In my views.py or elsewhere
question_id = 123
url = reverse('results', args=[question_id])  # Generates '/polls/123/results/'
123 is the value of the question_id, and results refers to the view that the redirected URL will call to display.
I want to make sure that after someone votes in a question, the vote() view redirects to the results page for the question. Now I'll create that view:
# polls/views.py
def results(request, question_id):
    question = get_object_or_404(Question, pk=question_id)
    return render(request, "polls/results.html", {"question": question})
The results view is almost exactly the same as the detail view. The only difference is the template name. I’ll fix this redundancy/repetition later.
Creating the polls/results.html template
<!-- polls/results.html -->
<!DOCTYPE html>
<html lang="en">
    <head>
        <meta charset="UTF-8">
        <meta name="description" content="This is the Django Polls Home Page.">
        <meta name="keywords" content="polls, questions, choices, votes">
        <title>
            {% block title %}
                Django Polls Detail Page
            {% endblock title %}
        </title>
    </head>
    <body>
        {% block body %}
            <h1>{{ question.question_text }}</h1>
            <ul>
                {% for choice in question.choice_set.all %}
                    <li>{{ choice.choice_text }} -- {{ choice.votes|pluralize }}</li>
                {% endfor %}
            </ul>
            <a href="{% url 'polls:detail' question.id %}">Vote again?</a>
        {% endblock body %}
    </body>
</html>
Next, I go to 127.0.0.1:8000/polls/1/ in the browser, and the following appears:

Result of going to the poll for question with id of 1
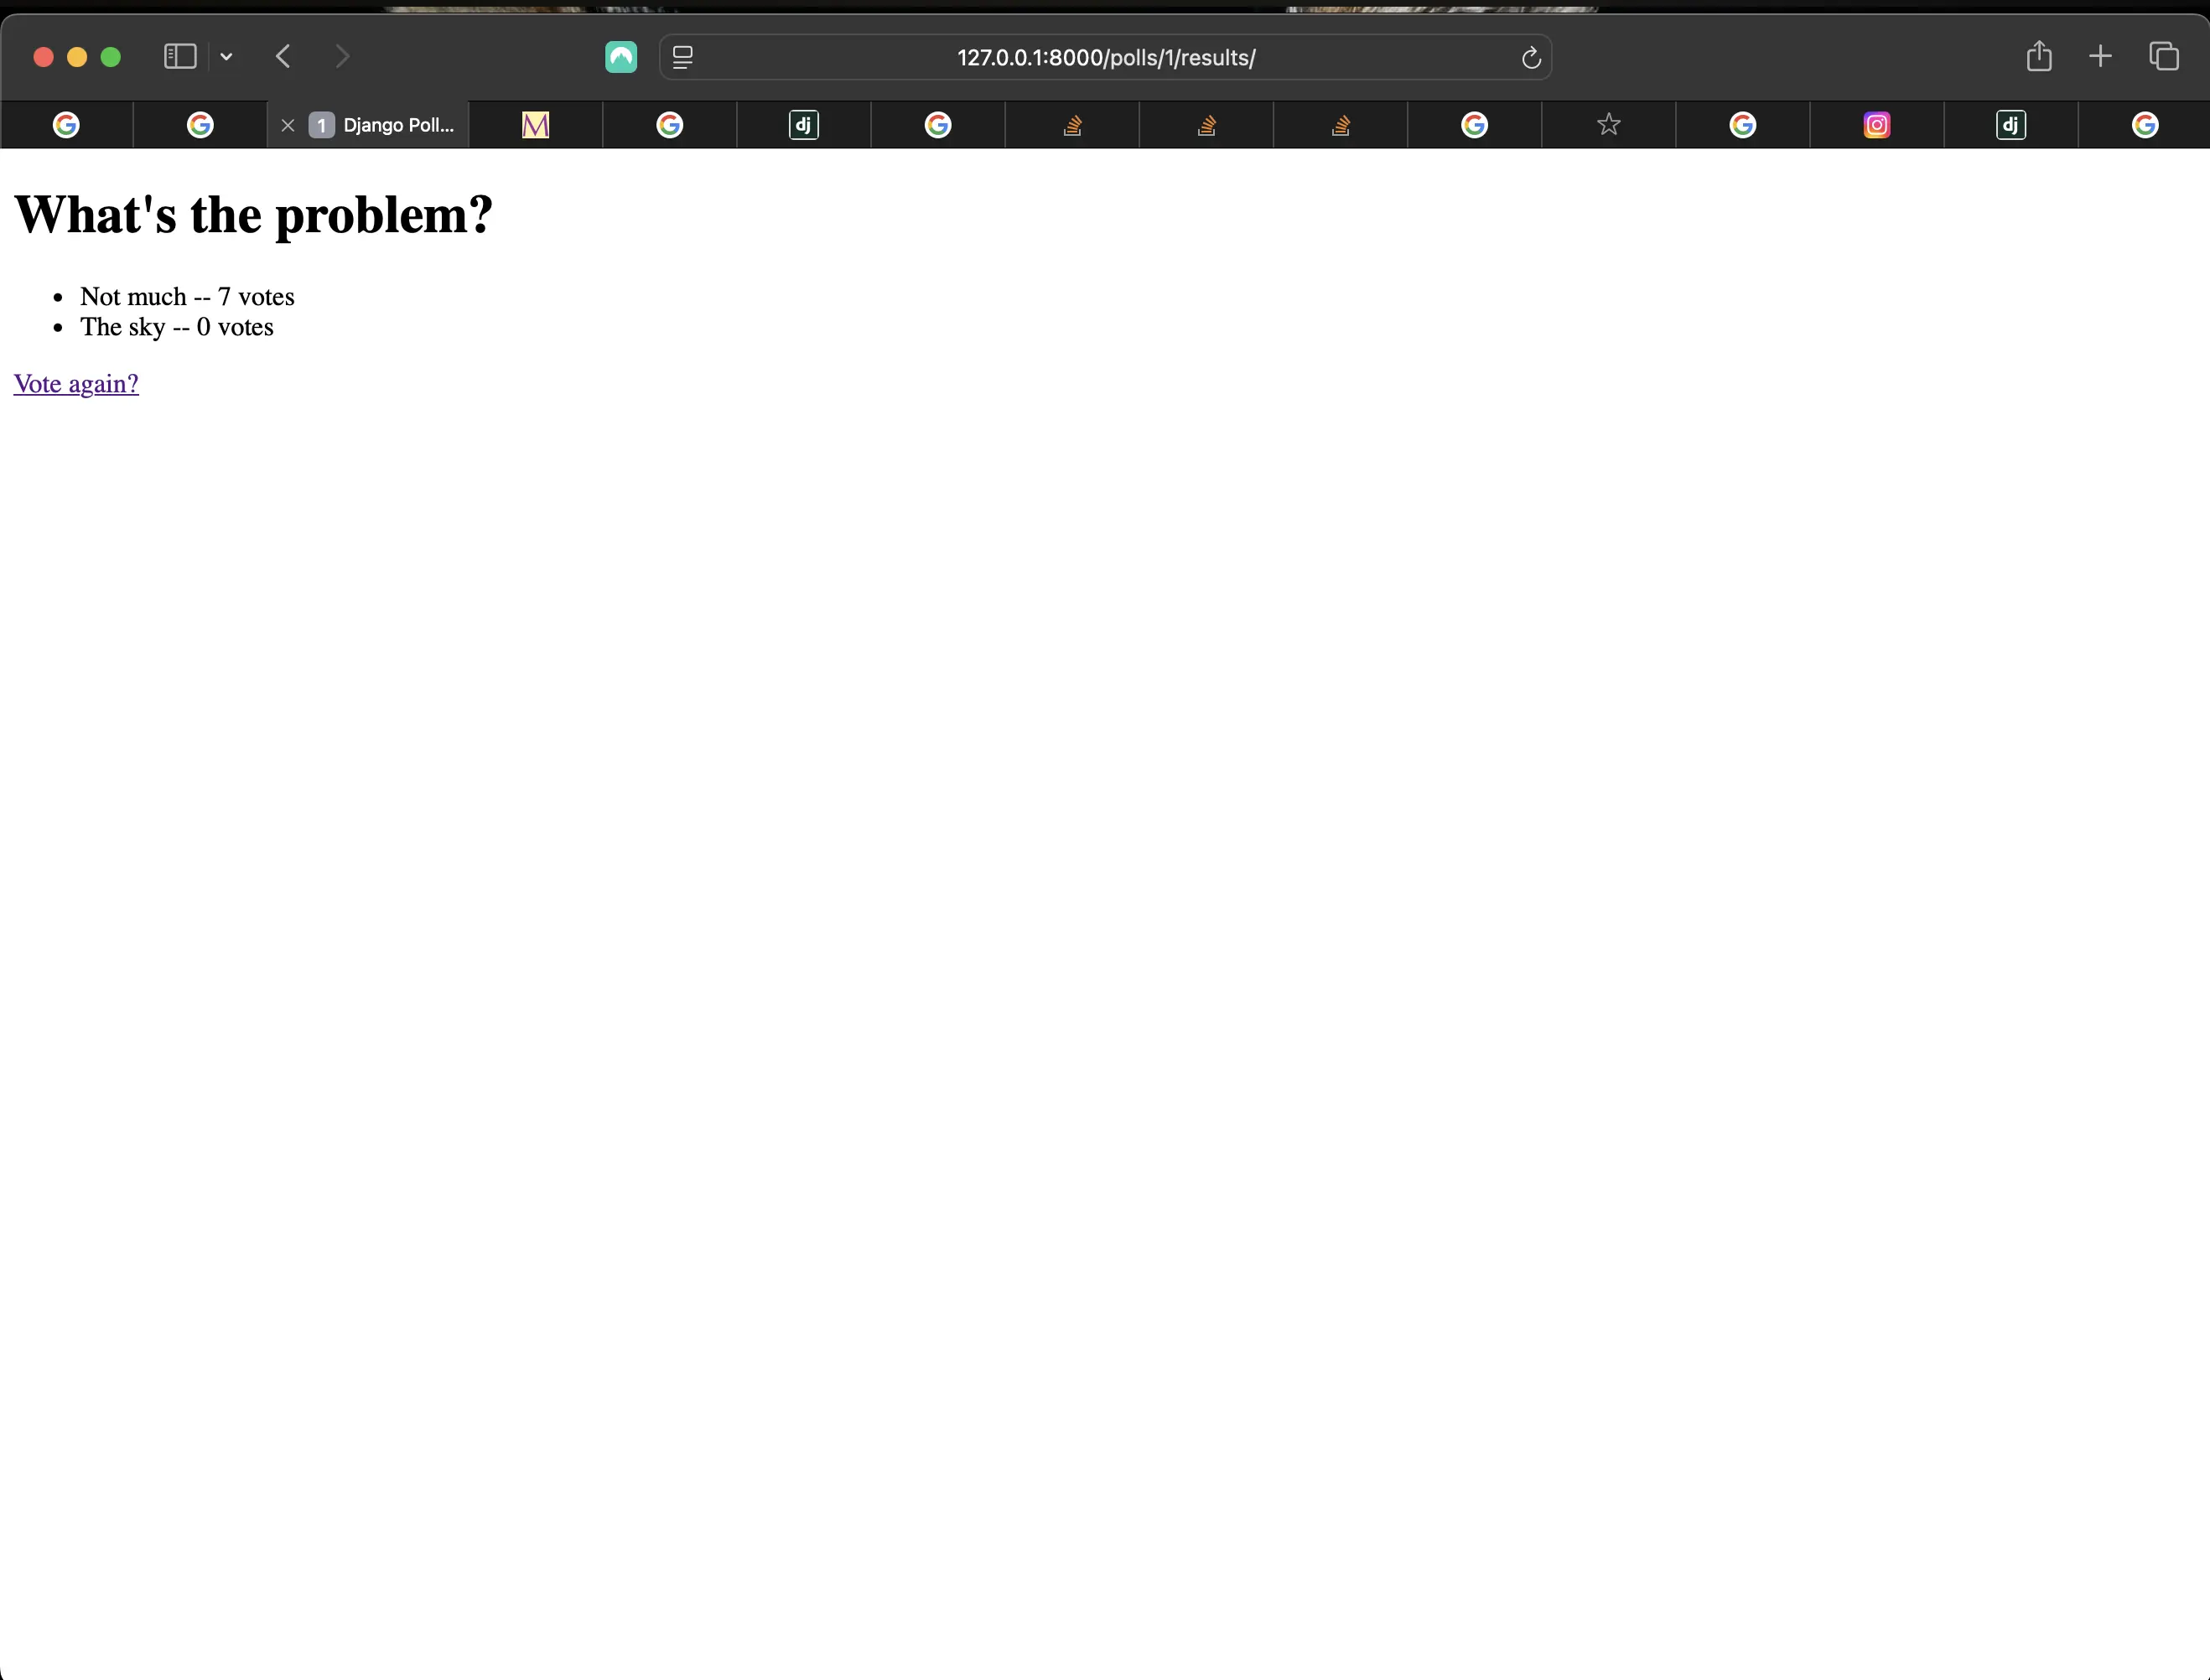
When I make a selection and submit a vote, the following appears:

Result of submitting a vote
However, if I submit an empty form, I see a 404 error message:

Result of submitting an empty form
Using generic views
Now I am going to update my index, detail, and results views to use Django built-in generic class-based views.
But before I start creating my view, I have to make sure that all instances of "question_id" are replaced by "pk" (if that is the way you went). When using Generic Class-Based Views (GCBVs), I must use "object.pk" only. I found out the hard way after I created my first GCBV and was using "question_id" instead of "pk". It would be good practice to simply stick with "pk" instead of something else "just to be smart", like me. Changing all instances of "question_id" with "pk" will take no time. If you miss one, you will find out where in the Terminal console when running the development server.
I am specifically referring to the changes I had to make in polls/urls.py. Before I added generic views, polls/urls.py looked like the following (check the code in the remote commit link Commit c0dcc1f):
# polls/urls.py
from django.urls import path
from . import views

app_name = "polls"

urlpatterns = [
    path('', views.index, name='index'),
    path('polls/<int:question_id>/', views.detail, name='detail'),
    path('polls/<int:question_id>/results/', views.results, name='results'),
    path('polls/<int:question_id>/vote/', views.vote, name='vote')
]
Above, I am using <int:question_id>, which is the previous version. When I add the generic views, polls/urls.py looks like the following:
from django.urls import path

from . import views

app_name = "polls"

urlpatterns = [
    path("", views.PollsIndexView.as_view(), name="index"),
    path("<int:pk>/", views.PollsDetailView.as_view(), name="detail"),
    path("<int:pk>/results/", views.PollsResultsView.as_view(), name="results"),
    path("<int:question_id>/vote/", views.vote, name="vote"),
]
Here, I am using <int:pk>.
This is what polls/views.py looks like after I add generic views:
# polls/views.py
from django.shortcuts import get_object_or_404, render
from django.http import HttpResponseRedirect
from django.db.models import F
from django.urls import reverse
from django.views.generic import ListView, DetailView
from .models import Question, Choice

# Create your views here.
class PollsIndexView(ListView):
    template_name = "polls/index.html"
    context_object_name = "latest_question_list"

    def get_queryset(self):
        """Return the last five published questions."""
        return Question.objects.order_by("-pub_date")[:5]

class PollsDetailView(DetailView):
    model = Question
    template_name = "polls/detail.html"

class PollsResultsView(DetailView):
    model = Question
    template_name = "polls/results.html"

def vote(request, question_id):
    question = get_object_or_404(Question, pk=question_id)
    try:
        selected_choice = question.choice_set.get(pk=request.POST["choice"])
    except (KeyError, Choice.DoesNotExist):
        # Redisplay the question voting form.
        return render(request, "polls/detail.html", { "question": question, "error_message": "You didn't select a choice.", })
    else:
        selected_choice.votes = F("votes") + 1
        selected_choice.save()
        # Always return an HttpResponseRedirect after successfully dealing with POST data. This prevents data from being posted twice if a user hits the Back button.
        return HttpResponseRedirect(reverse("polls:results", args=(question.id,)))
There are a couple of little differences here from the official tutorial.
- from django.views.generic import ListView, DetailView: I like to specifically define which generic views I am using. The reason why the tutorial is using generic.ListView or generic.DetailView, is because they kept the name DetailView for the polls detail view.
- I change the view name of IndexView to PollsIndexView, DetailView to PollsDetailView, and ResultsView to PollsResultsView. It just is more descriptive of what it represents. Especially if you end up with more than one app in your Django project!
Generic views are pre-built classes that provide common patterns for handling web requests and responses so that I don't have to write repetitive boilerplate code. They are especially useful for building views that interact with database models.
Types of Generic Views for displaying data:
- ListView: Displays a list of objects from a model.
- DetailView: Displays a single object from a model.
Each generic view needs to know what model it is dealing with. This is provided using either the model attribute (DetailView and ResultsView) or by defining the get_queryset() method (IndexView).
By default, the DetailView generic view uses a template called <app name>/<model name>\_detail.html. In my case, it would use the template "polls/question_detail.html". The template_name attribute is used to tell Django to use a specific template name instead of the autogenerated default template name. I also specify the template_name for the results list view. This makes sure that the results view and the detail view have a different appearance when rendered, even though they’re both a DetailView behind the scenes.
Similarly, the ListView generic view uses a default template called <app name>/<model name>_list.html. I use template_name to tell ListView to use my existing "polls/index.html" template.
Previously, I provided the templates with a context that contains the question and latest_question_list context variables. When using DetailView, the question variable is provided automatically. Since I'm using a Django model (Question), Django is able to determine an appropriate name for the context variable. However, when using the ListView, the automatically generated context variable is question_list. To override this, I provide the context_object_name attribute, specifying that I want to use latest_question_list instead. I could change my templates to match the new default context variables, but it's a lot easier to tell Django to use the variable I want.
Refactoring polls/urls.py to match the new generic views
# polls/urls.py
from django.urls import path
from . import views

app_name = "polls"

urlpatterns = [
    path('', views.PollsIndexView.as_view(), name='index'),
    path('<int:pk>/', views.PollsDetailView.as_view(), name='detail'),
    path('<int:pk>/results/', views.PollsResultsView.as_view(), name='results'),
    path("<int:question_id>/vote/", views.vote, name="vote"),
]
Note July 3, 2026: Here, as mentioned at the beginning of this section, I have to make sure to use <int:pk> instead of <int:question_id> (or perhaps question.id, which points to the same thing). Why the switch? Before generic-based views were introduced, I was able to use id as a value of the pk property. If I used id with a generic-based view, an error would be thrown stating that pk must be used.
The django_polls/urls.py should (still) look like the following:
from django.contrib import admin
from django.urls import path, include

urlpatterns = [
    path('polls/', include('polls.urls')),
    path('admin/', admin.site.urls),
]
Now I can go back to the browser and see if my code refactoring works! In my case, it does:
Result of generic views refactoring
Installing djLint
In my Django applications (similar to my HTML based applications using Beautify), I use djLint to format my Django templates. However, in order to do that, I need to (also) install djLint in my Django application itself.
Making sure that my virtual environment is on, I run the following command in the root of Django Polls:
pip install djlint
Then, to make sure that it actually is recognized by my Django version, I create a new file called requirements.txt at the root of Django Polls:
touch requirements.txt
This is followed by the following command:
pip freeze > requirements.txt
In my case, djlint did appear. Now I can format my Django templates using djLint. Then make sure to click on your extensions tab, and if you have the Microsoft Python extension installed (which you should), click on "Reload extensions" there. At first I did not see that anywhere. But when I went to find my Python extension to make sure I actually had it enabled, I saw that prompt underneath the name of the extension.
Code associated with this post
To view the code associated with this post, please visit fe2e5b6.
Code associated with the changes made in "Writing a minimal form" dated July 3, 2026
To view the code associated with these changes, please visit 69a7051.
Conclusion
In this section, I added a minimal form to my polls.detail.html template, updated the function-based vote view, created a polls/results.html template, refactored my polls/urls.py to match the new generic views, and installed djLint to format my Django templates.
Related Resources
- Writing your first Django app, part 4: Django documentation
- Class-based views: Django documentation
- Built-in class-based generic views: Django documentation
Related Posts
- Creating the official Django Polls app table of contents: mariadcampbell.com