How to create a fullstack application using Django and Python Part 9
Social Share:
Saturday, September 7, 2024 at 11:08 AM | 3 min read
Last modified on Thursday, July 16, 2026 at 12:41 PM
#macOS, #django, #fullstack development, #python3, #django admin, #superuser, #register app, #series
List of boards in the Django Admin dashboard
Important Note: Before committing anything to Git or pushing anything to remote, please visit How to create a fullstack application using Django and Python Part 4 where I discuss how to add the python-dotenv package to the Django site and why it is crucial to do it. This article assumes you have a working knowledge of Git.
Table of Contents
- Introducing the Django Admin
- Configuring the Django Admin
- Registering the boards app in boards/admin.py
- Viewing available boards in the Django Admin interface
- Adding a board in the Django Admin interface
- Deleting a board in the Django Admin interface
- Code associated with this post
- Conclusion
- Related Resources
- Related Posts
Update (July 2026): This walkthrough was written against Django 5.1, which reached full end-of-life in December 2025 and is no longer receiving security patches. Run python -m django --version to check which version you have.
I wrote this series as a live process, so sometimes it might seem confusing, but it all works out in the end.
Introducing the Django Admin
When I create a new project, the root project directory automatically comes with a file called admin.py. That file includes the django.contrib.admin app, which is included in INSTALLED_APPS in settings.py.
The Django Admin reads metadata from my models to provide a quick, model-centric interface where trusted users can manage content on my site. I limit it to being an internal management tool and not a means to styling the frontend of a site.
I am going to use Django Admin to manage my boards app.
Configuring the Django Admin
Creating the superuser
In order to create an admin user, I run the following command in Terminal:
python3 manage.py createsuperuser
Which for me, returns the following:
Username (leave blank to use 'mariacam'): interglobalmedia
# then:
Email address: interglobalmedia@example.com # no need for a real email for the purposes of my site at this time
# then:
Password:
Password (again):
Superuser created successfully.
Next, I use my new superuser account to log into the Django Admin area. It looks like the following:
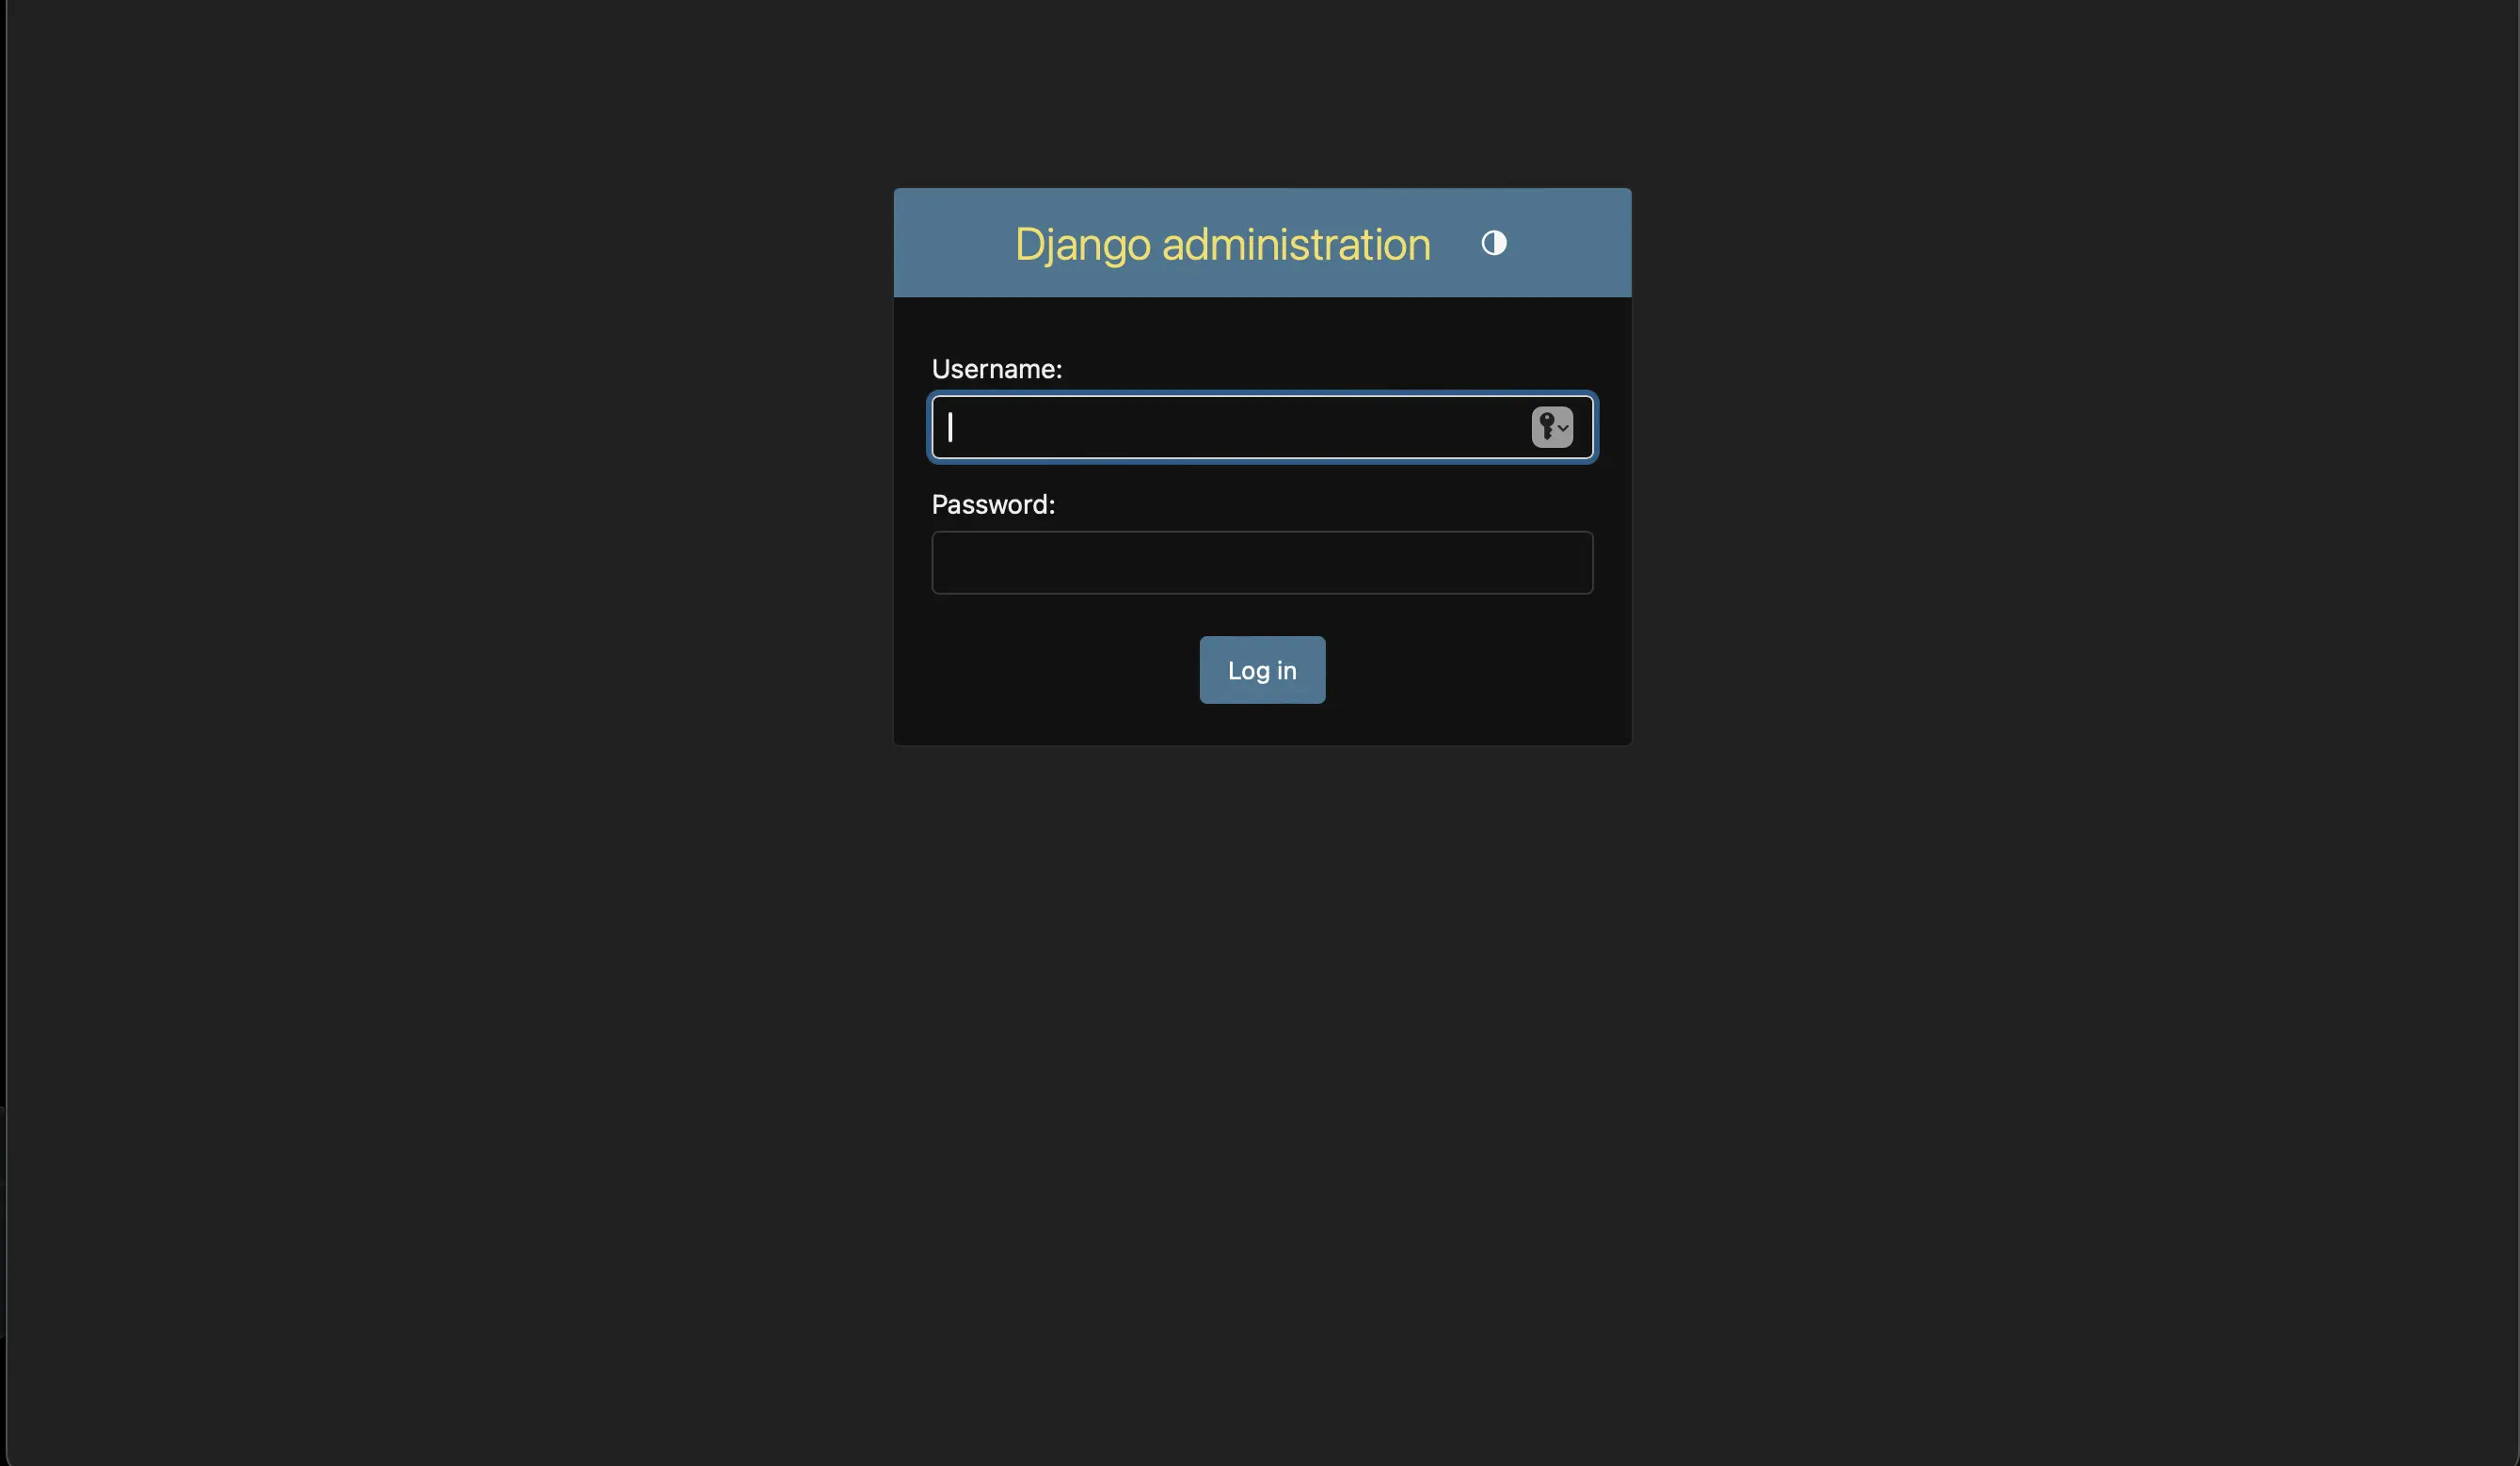
The Django Admin login
After I add my login credentials, I am taken to the following:

The Django Admin dashboard (interface)
This probably looks a bit different from yours. I already registered the Board, Post, Topic, and PostLike models to the board app's admin.py. The PostLike model is not included in Vitor Freitas' A Complete Beginner's Guide to Django, which my series is based on. I updated the UML class diagrams and wireframes to include PostLike. I will discuss this in the next section (Part 10). Just make sure that your Boards, and your Groups and Users under Authentication and Authorization appear here.
Registering the boards app in boards/admin.py
I have to register the boards app in boards/admin.py in order for it to appear in the Django Admin interface so that I can interact with it and manage it there:
# boards/admin.py
from django.contrib import admin
from .models import Board, Topic, Post, PostLike

# Register your models here.
admin.site.register(Board)
admin.site.register(Topic)
admin.site.register(Post)
admin.site.register(PostLike)
Now, when you go back to http://127.0.0.1:8000/admin/, Boards should appear in the admin sidebar.
Viewing available boards in the Django Admin interface
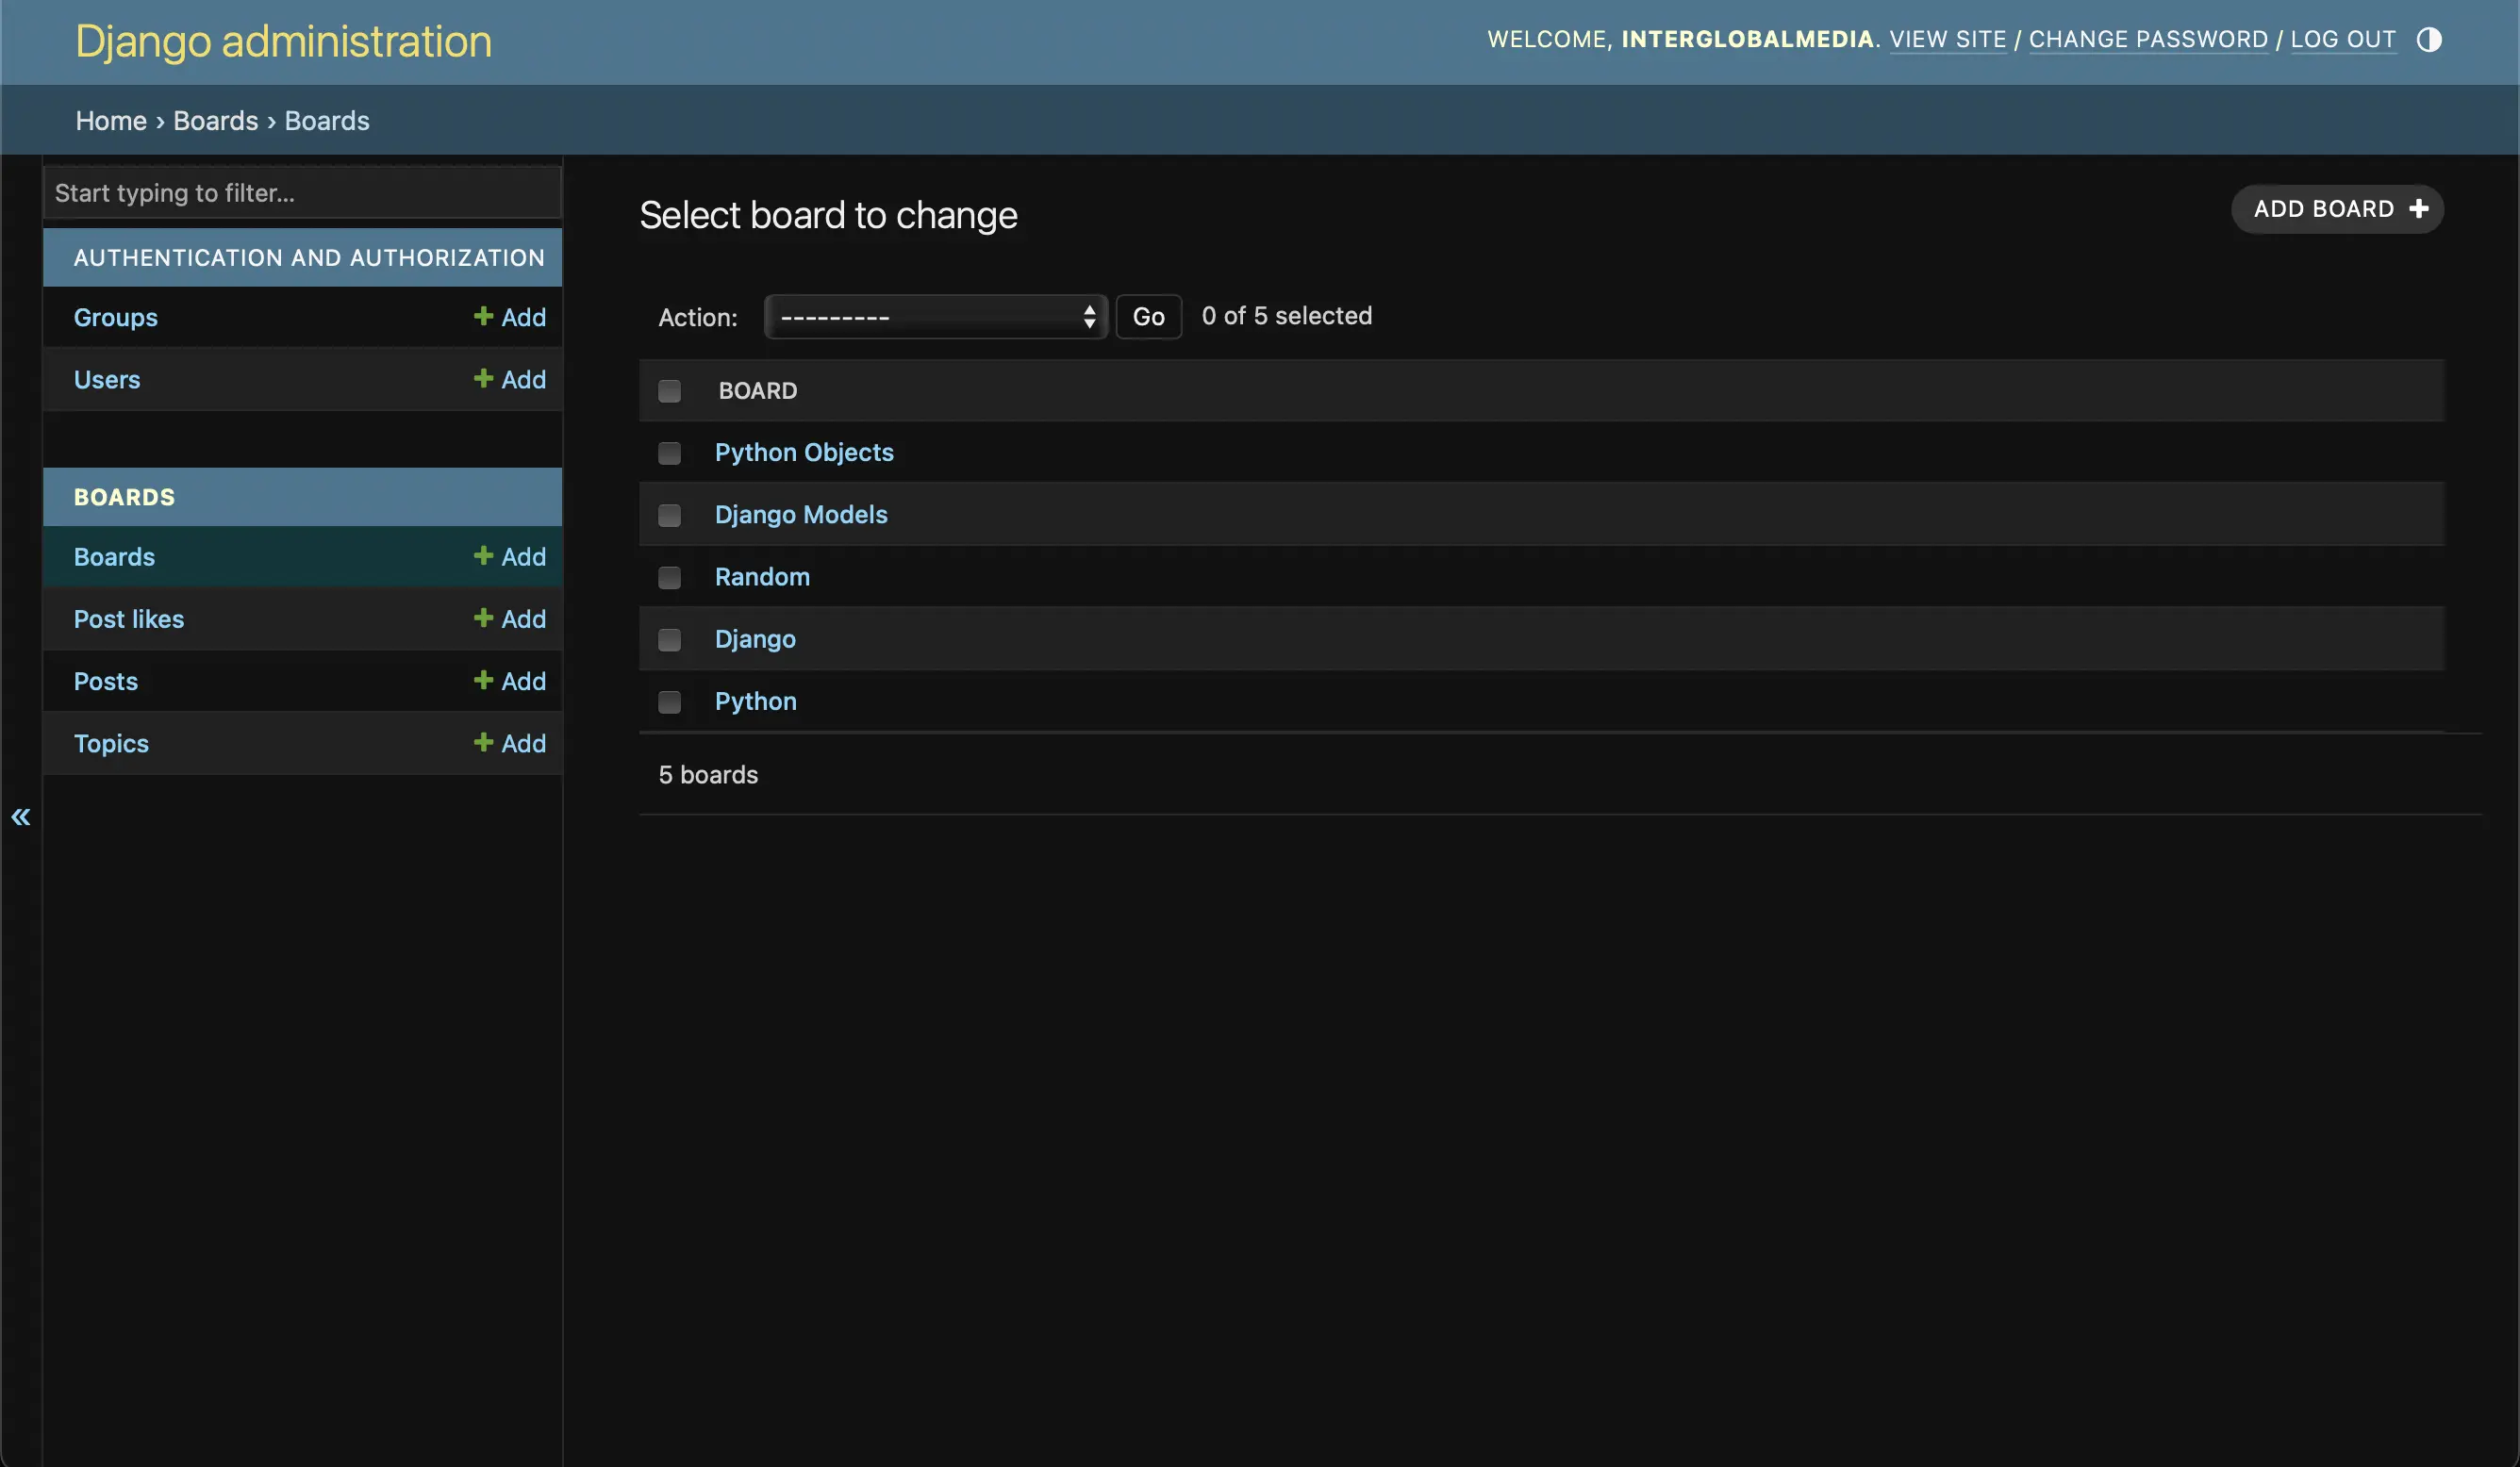
To view which boards are available to me, I can go to http://127.0.0.1:8000/admin/boards/board/ to view my list of all my boards:
List of boards in the Django Admin dashboard
As you can see below, I can add a board or delete one:
Add or delete a board in the Admin panel
Adding a board in the Django Admin interface
If I want to add a board, after I click the Add Board + button, the following appears:
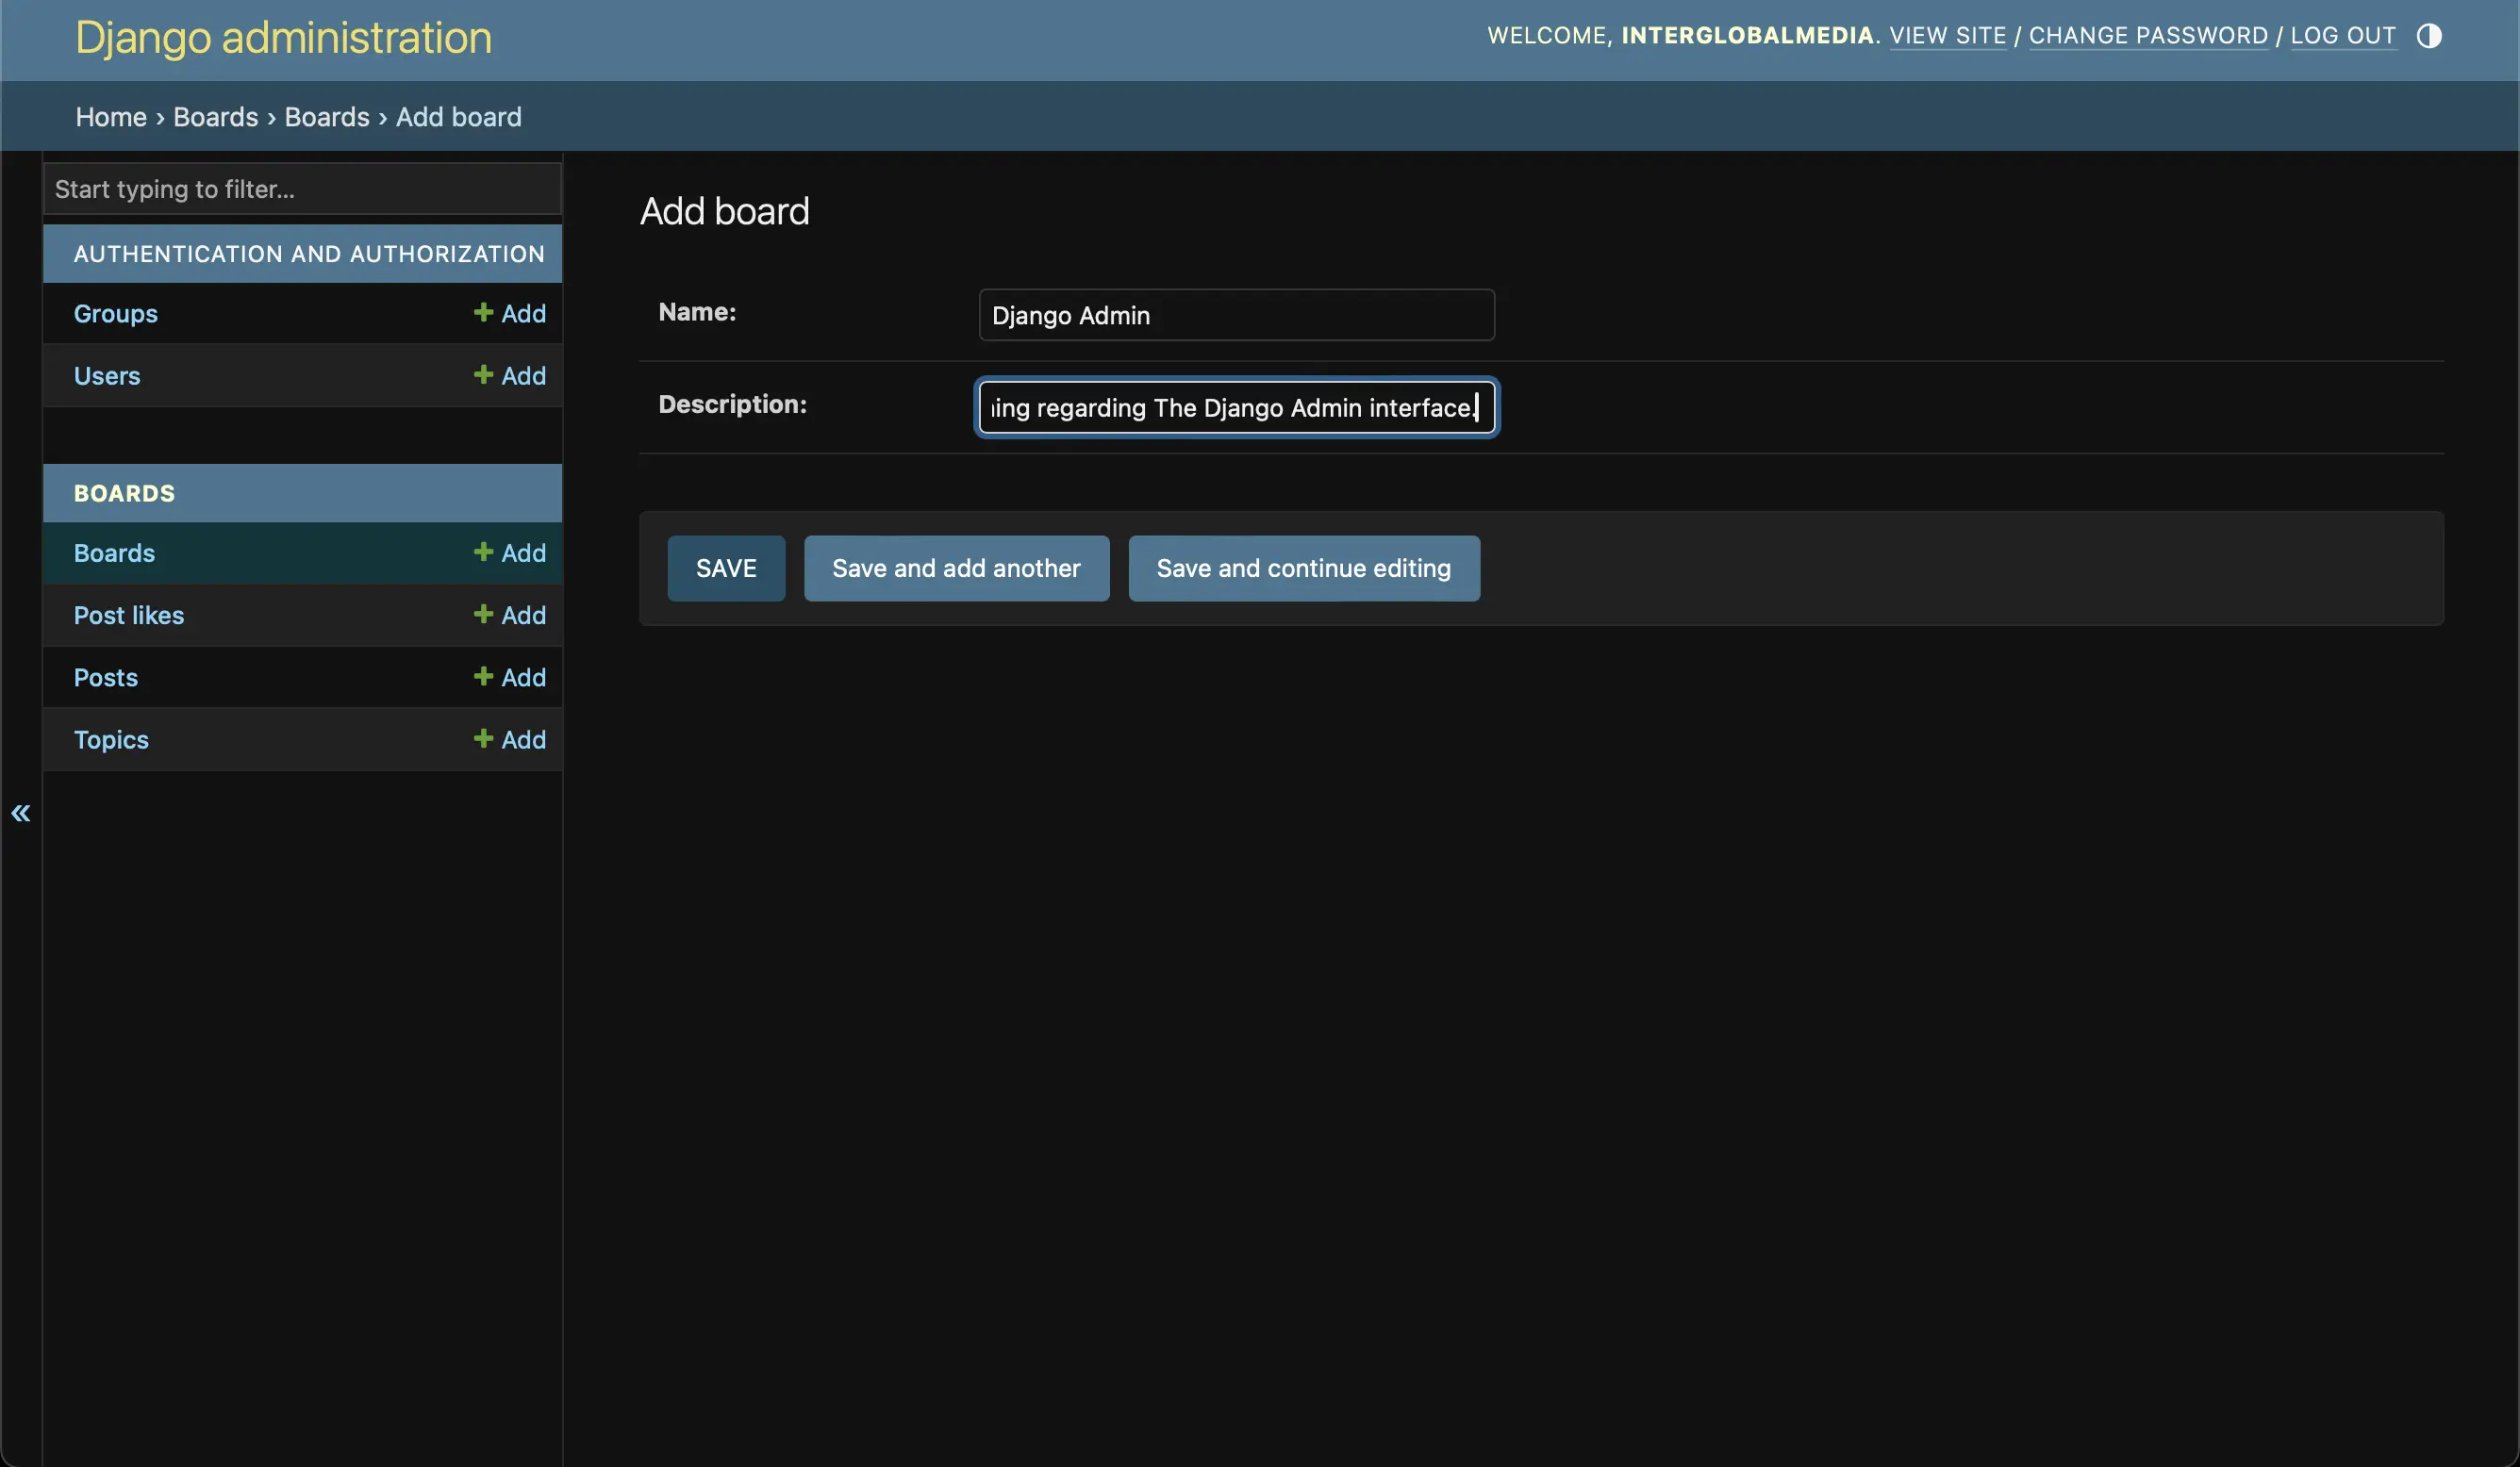
Add a board in the Django Admin panel
After I put in the board name and description, I am given three choices. I can press the save button and just save the new board and exit out of the Add Board interface. I can save the new board and add another one, or I can save the new board and continue editing it. I will go with the first choice. When I save the new board, I am taken back to the list of boards, and it looks something like the following:
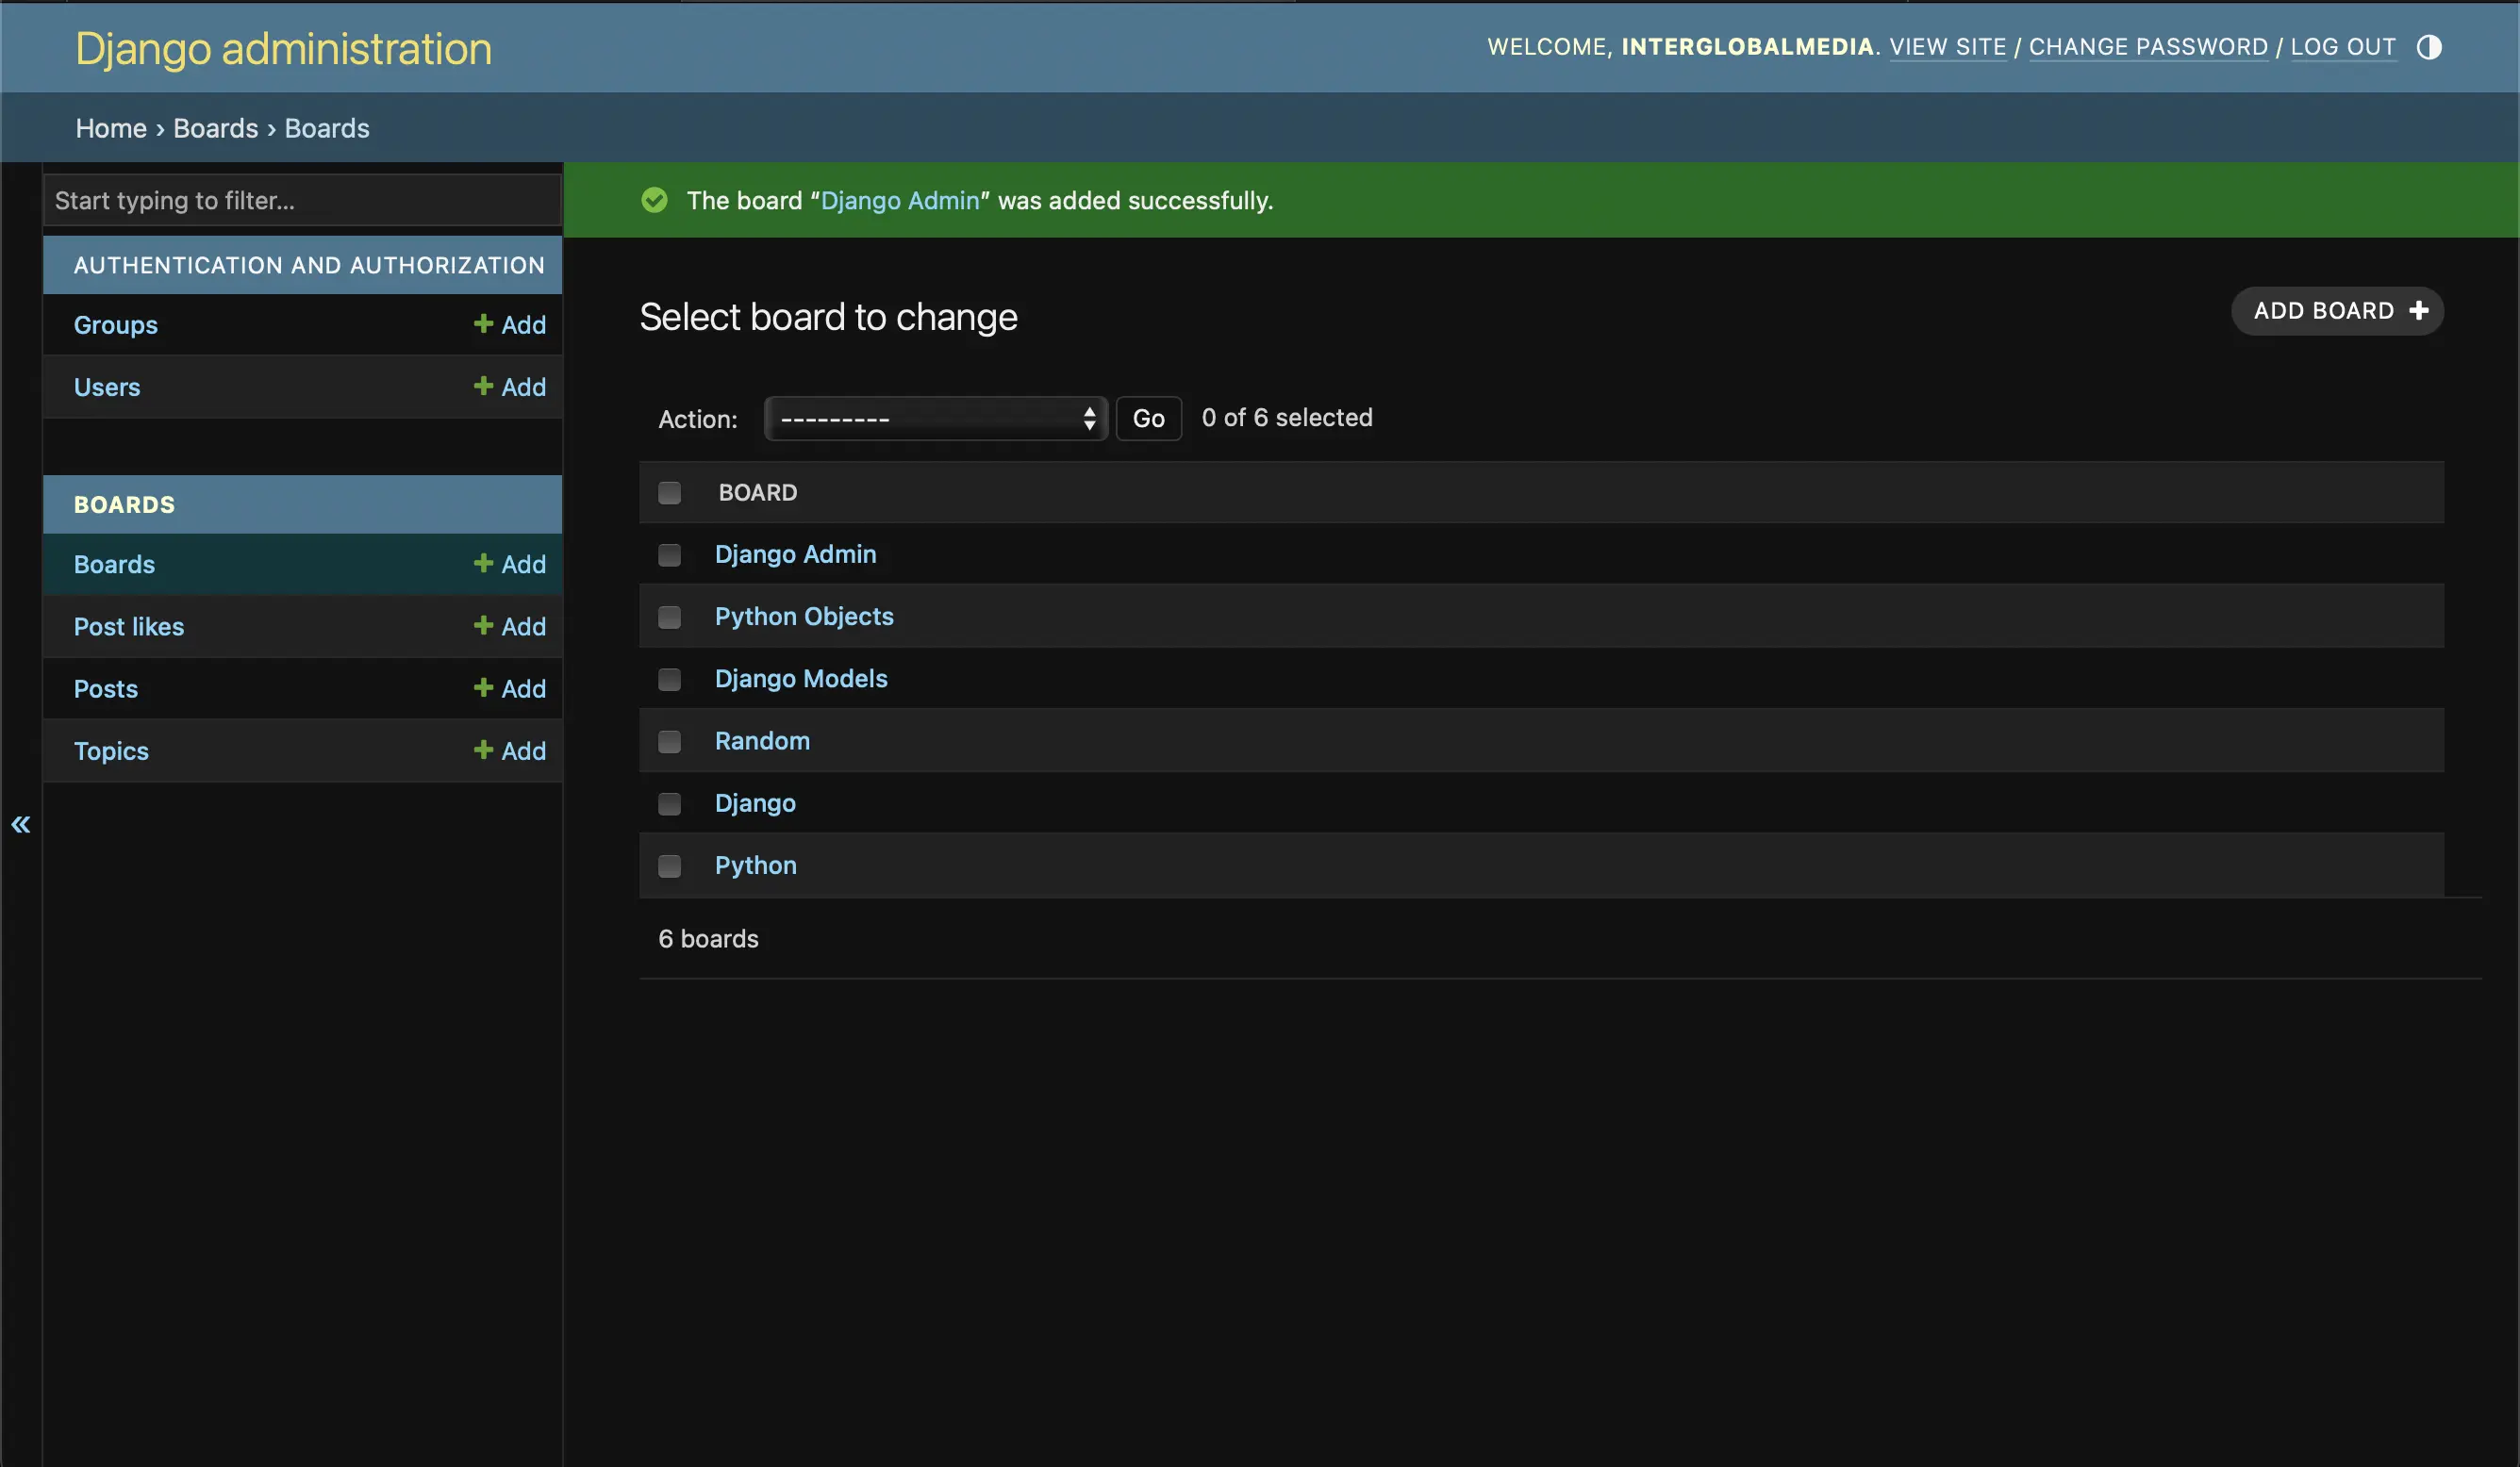
New board added successfully
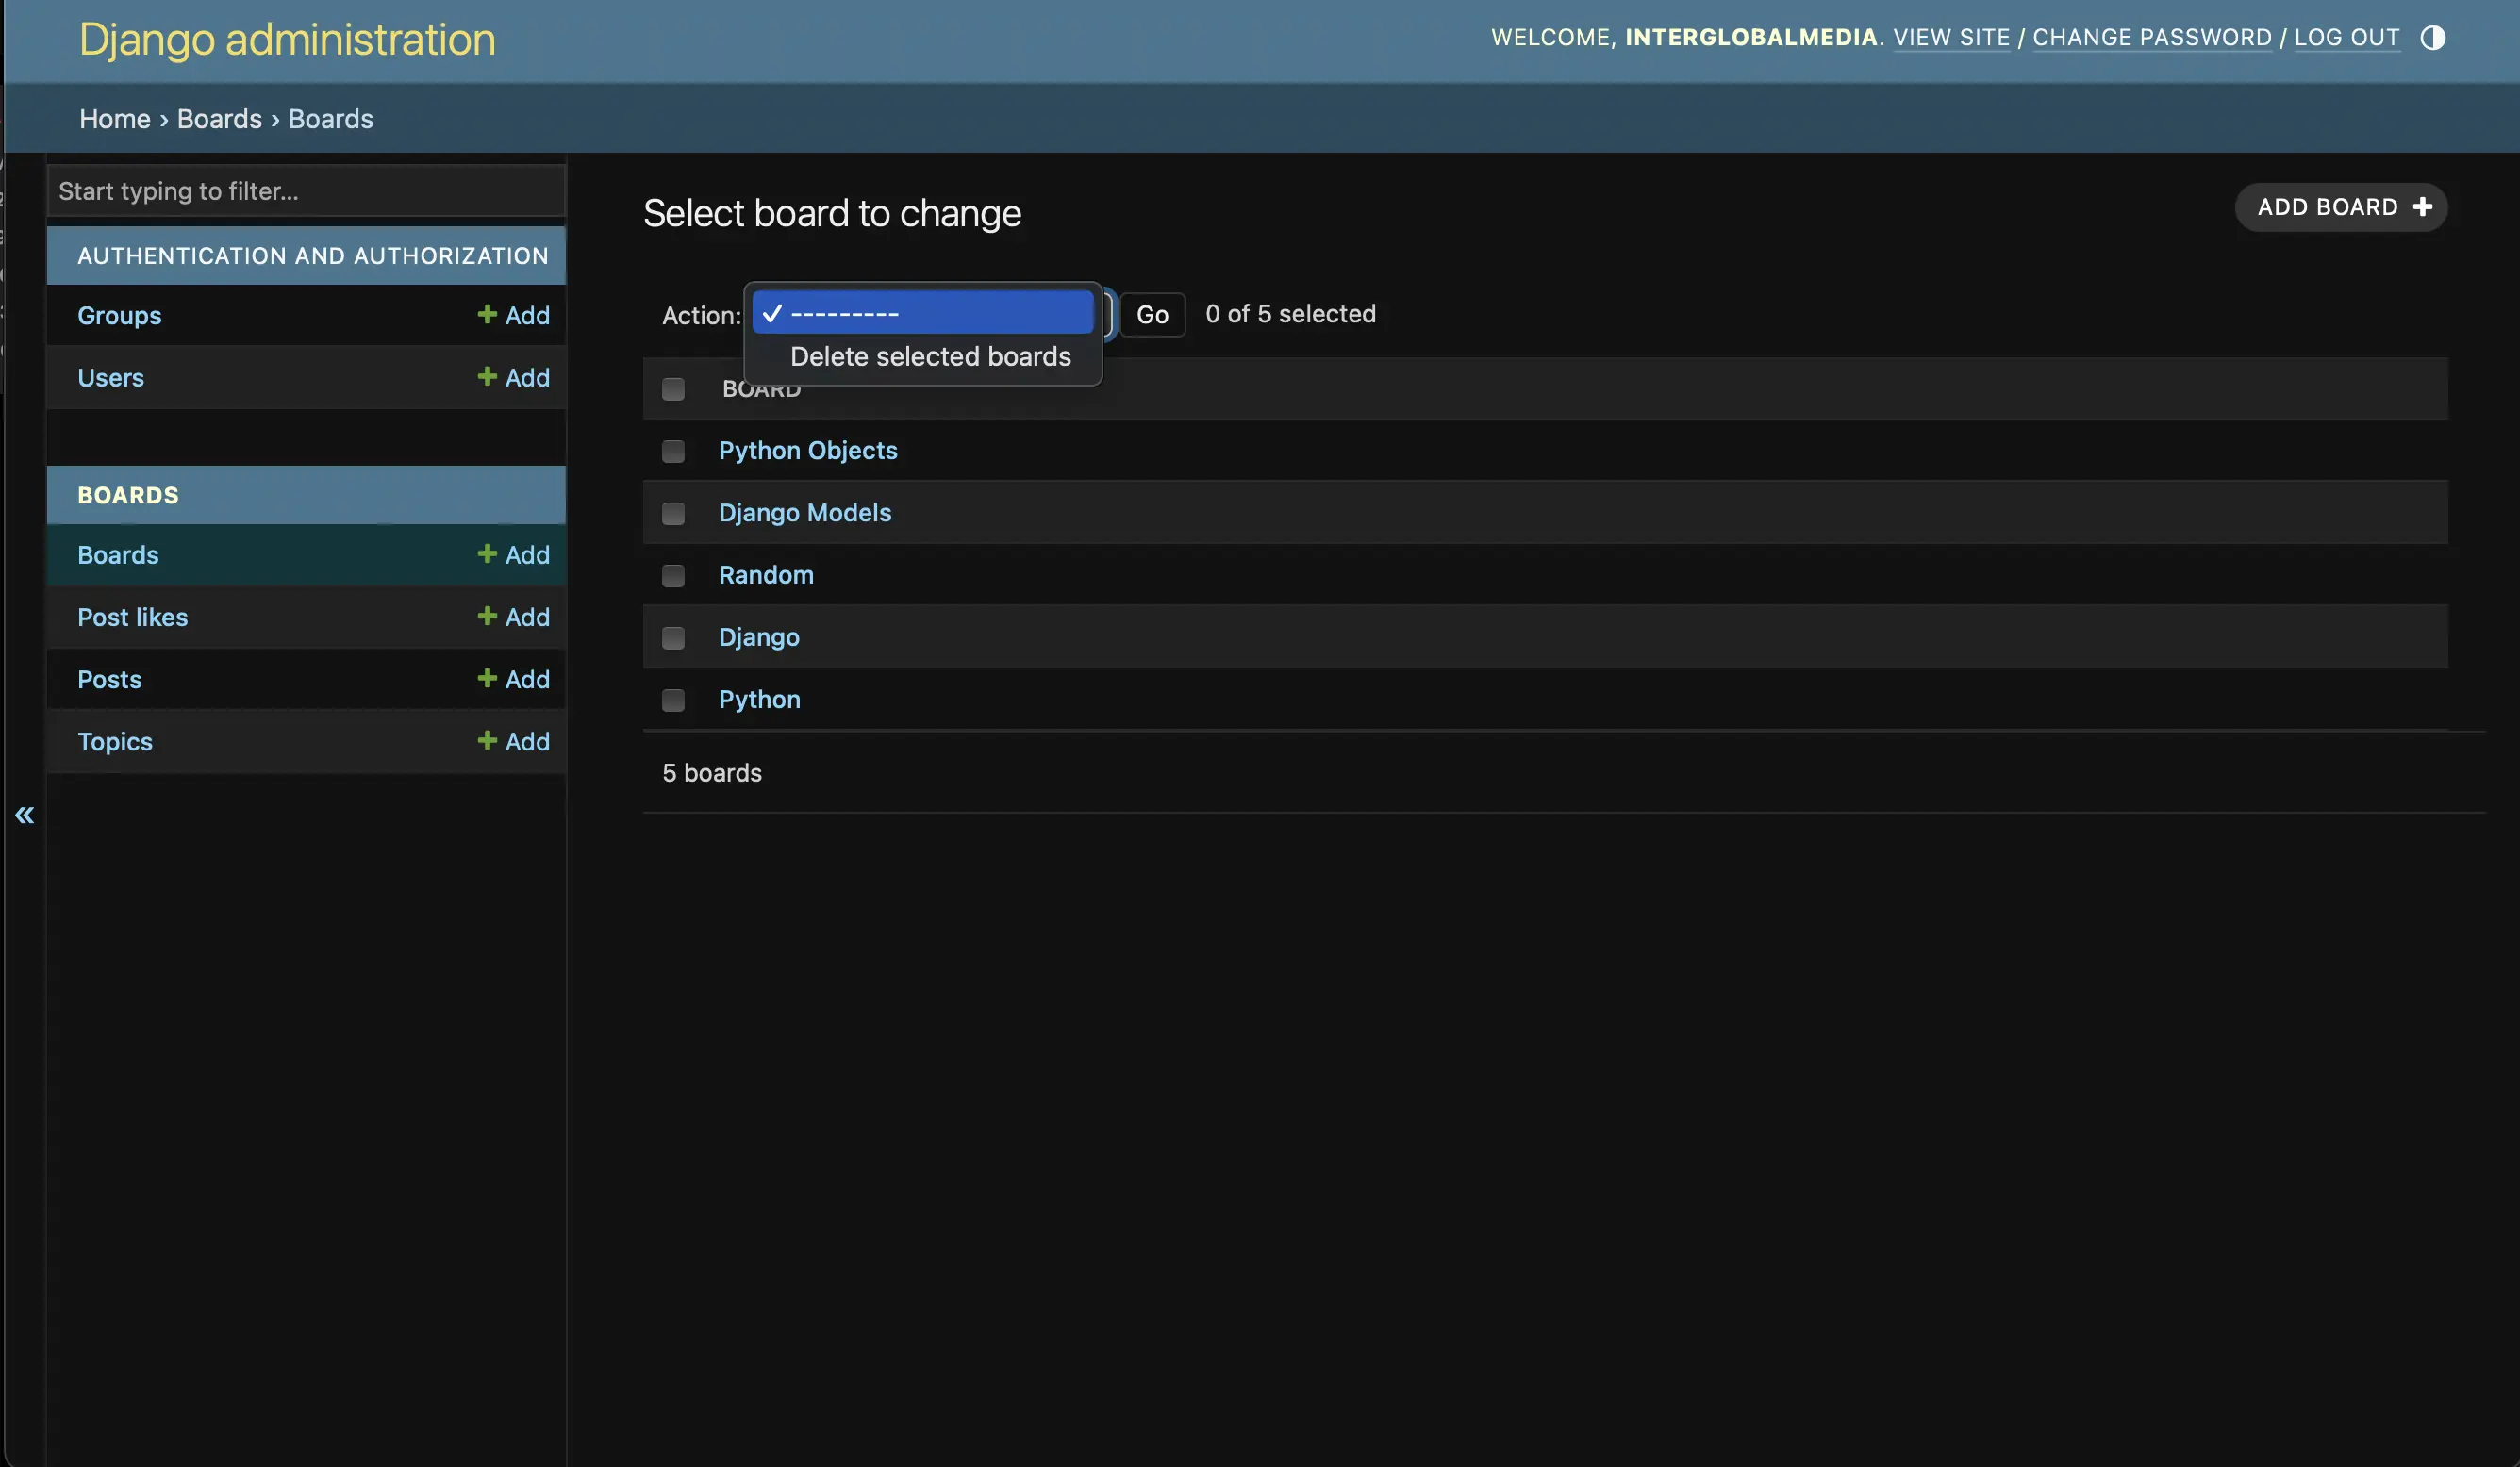
Deleting a board in the Django Admin interface
If I want to delete a board, I select the board I want to delete, and as a result, it looks like the following:
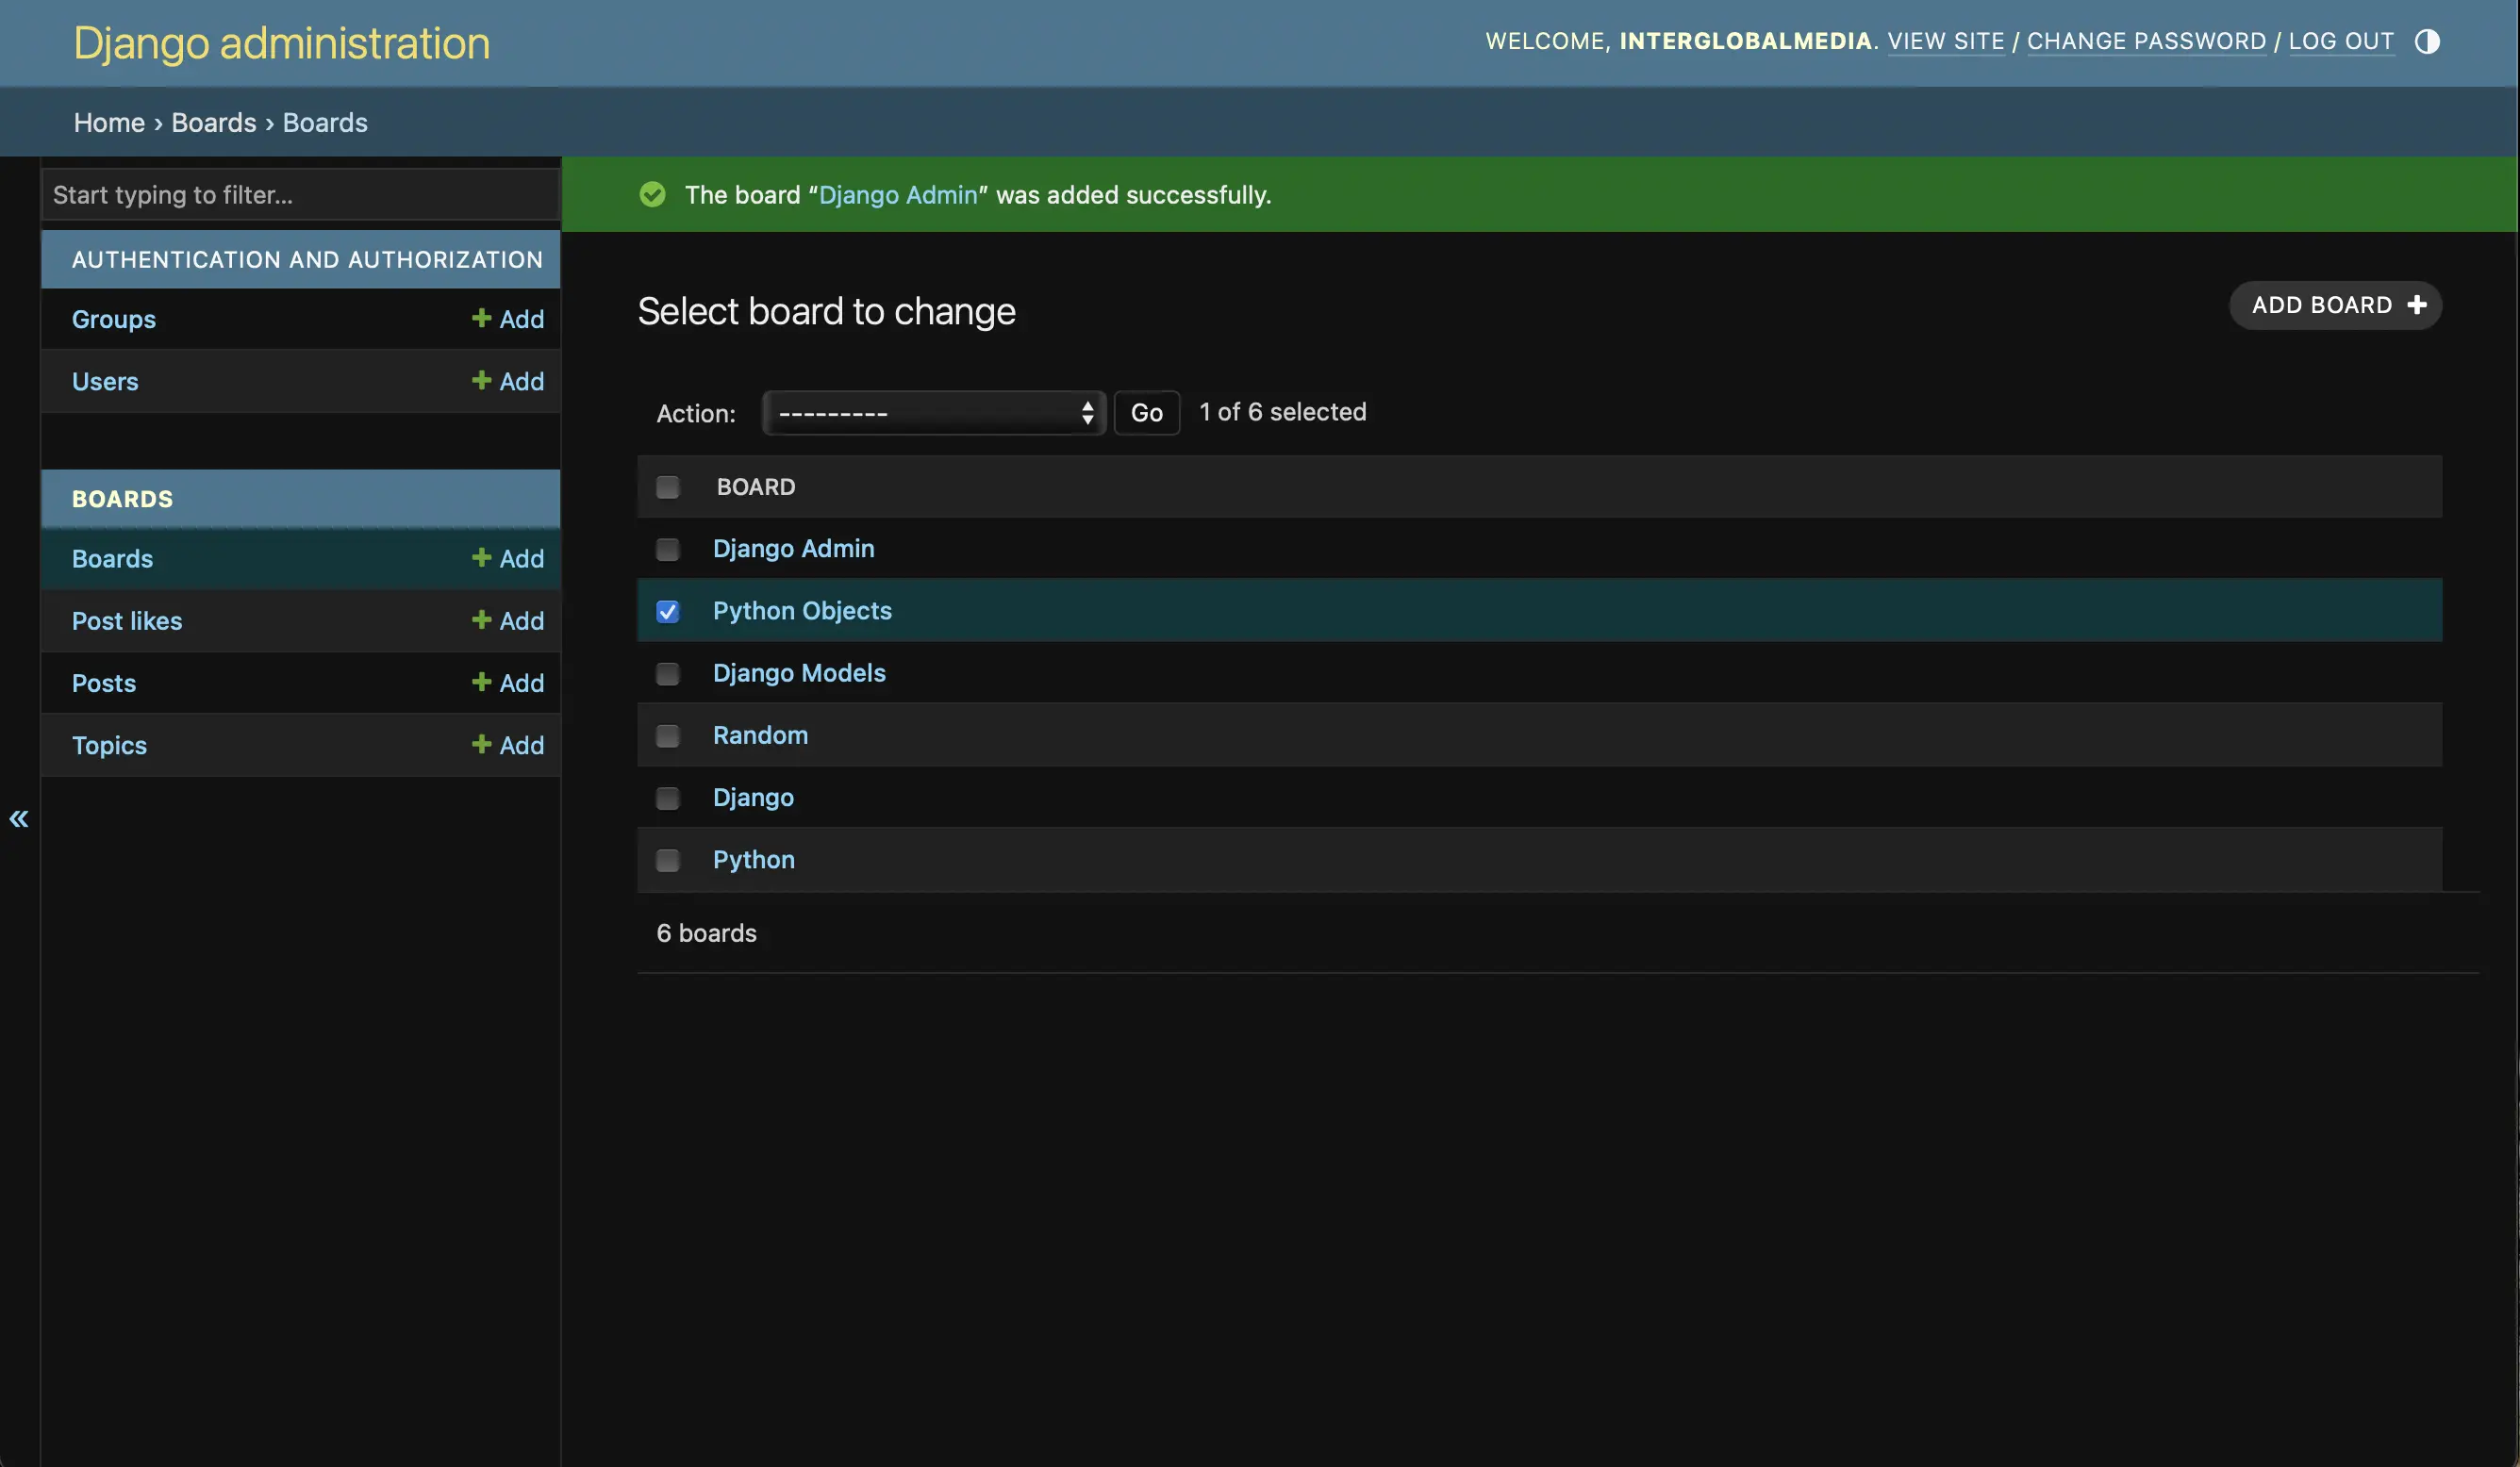
Selecting board for deletion
Then I run the selected action to delete the selected board by pressing the "Go" button:
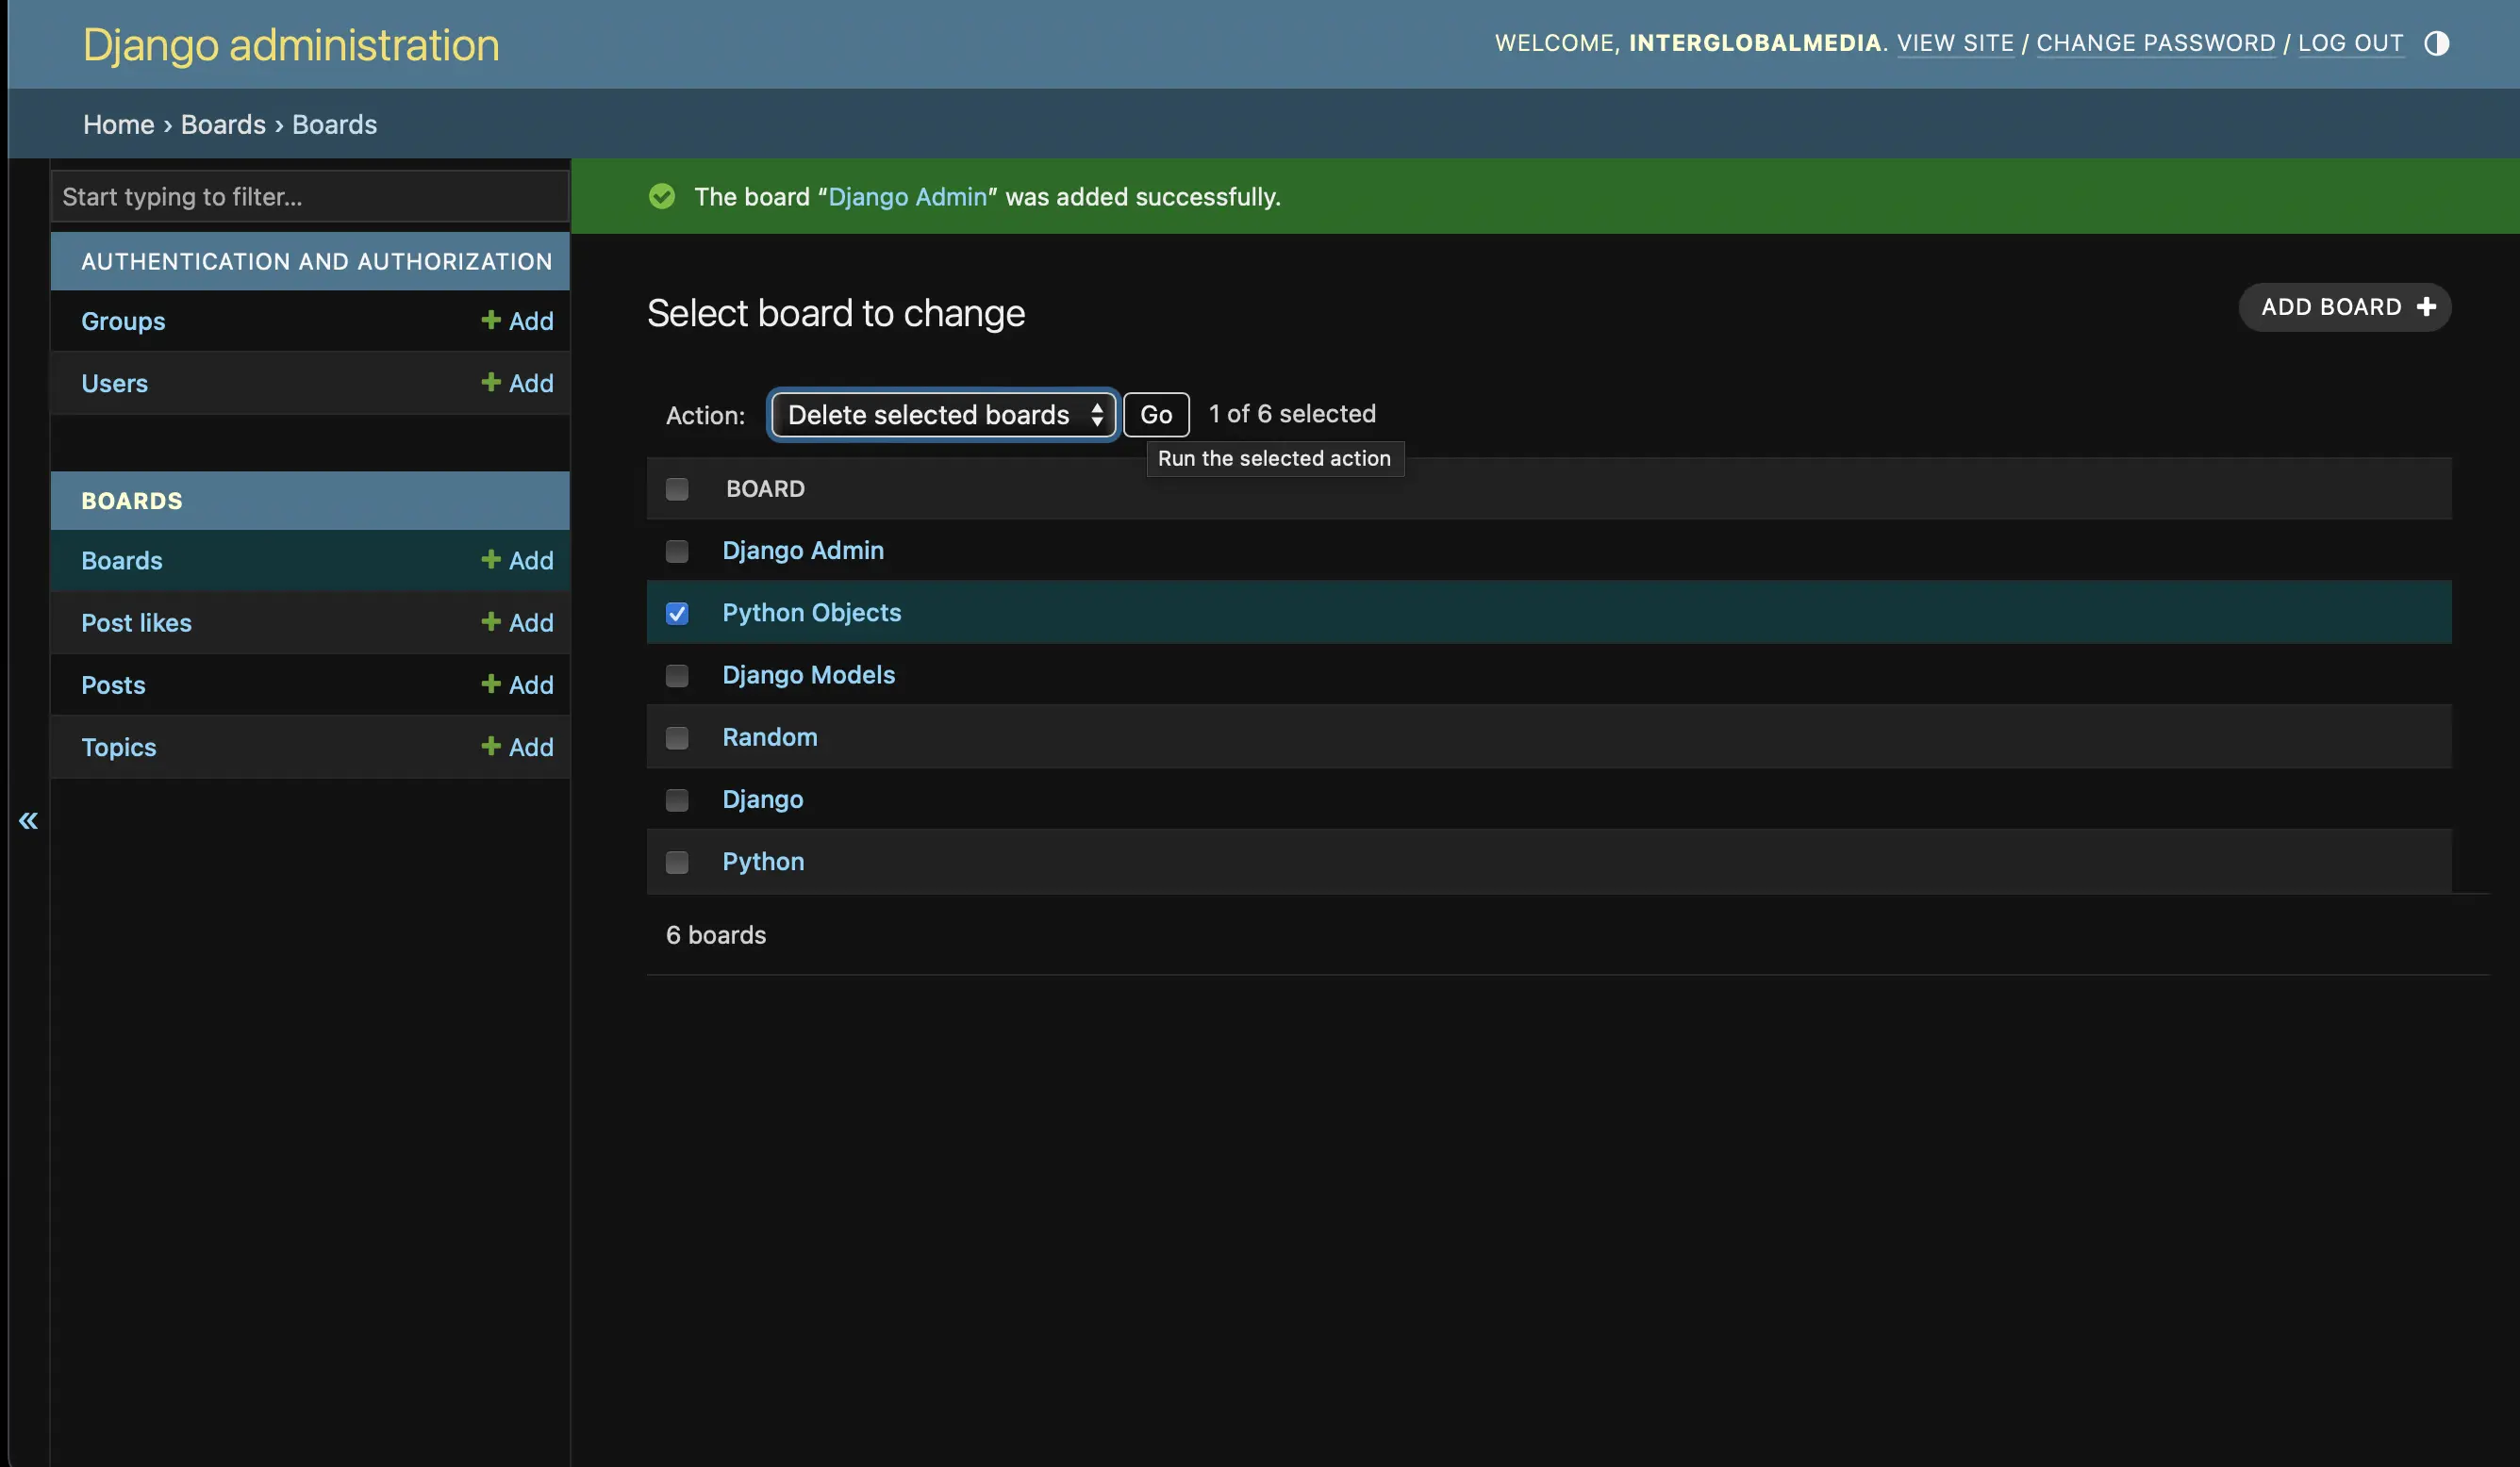
Run selected action to delete board
Code associated with this post
To view the code associated with this post, please visit 828dd78.
Conclusion
In this section, I introduce the Django Admin, configure the Django Admin by creating a superuser, register the boards app in boards/admin.py, add a board in the Django Admin interface, and delete a board in the Django Admin interface.
Related Resources
- The Django admin site: Official Django documentation
- Using the Django authentication system: Official Django documentation