Creating the official Django Polls app Part 1
Social Share:
Monday, December 30, 2024 at 2:06 PM | 10 min read
Last modified on Saturday, July 4, 2026 at 4:20 PM
#fullstack development, #macOS, #django, #django app, #django project, #development server, #git, #pip, #python3, #python interpreter, #runserver, #series, #tutorial, #urlconf, #views, #virtualenv, #virtual environment

Photo by David Clode on unsplash.com
Table of Contents
- Creating the django-polls directory
- Checking to see if you have Django installed
- Selecting a Python interpreter inside your favorite IDE
- Installing virtualenv with pip
- Installing Django
- Creating a project in the Django web application
- Initializing Git
- Starting up the Django development server
- Creating a new branch called running-development-server
- Creating an app called polls
- Project vs app
- Writing the first view
- Creating a URLconf for the index view
- Configuring the global URL configuration
- Committing changes to running-development-server, checking out into main, merging into main, and pushing changes to remote
- Code associated with this section
- Conclusion
- Related Resources
- Footnotes
Update (July 2026): This walkthrough was written against Django 5.1, which reached full end-of-life in December 2025 and is no longer receiving security patches. Run python -m django --version to check which version you have.
I go through the steps of how to install Django in my post entitled How to create a fullstack application using Django and Python Part 1.
Creating the django-polls directory
First and foremost, I created a directory inside my directory called Python-Development by running the following command:
mkdir django-polls
Then I cd into django-polls.
Checking to see if you have Django installed
To check and see if you have Django installed on your local machine, run the following command in Terminal:
python -m django --version
For me, it returned the following:
5.1.3
Selecting a Python interpreter inside your favorite IDE
Before installing virtualenv, I selected a Python interpreter in Visual Studio Code. I selected from the following:
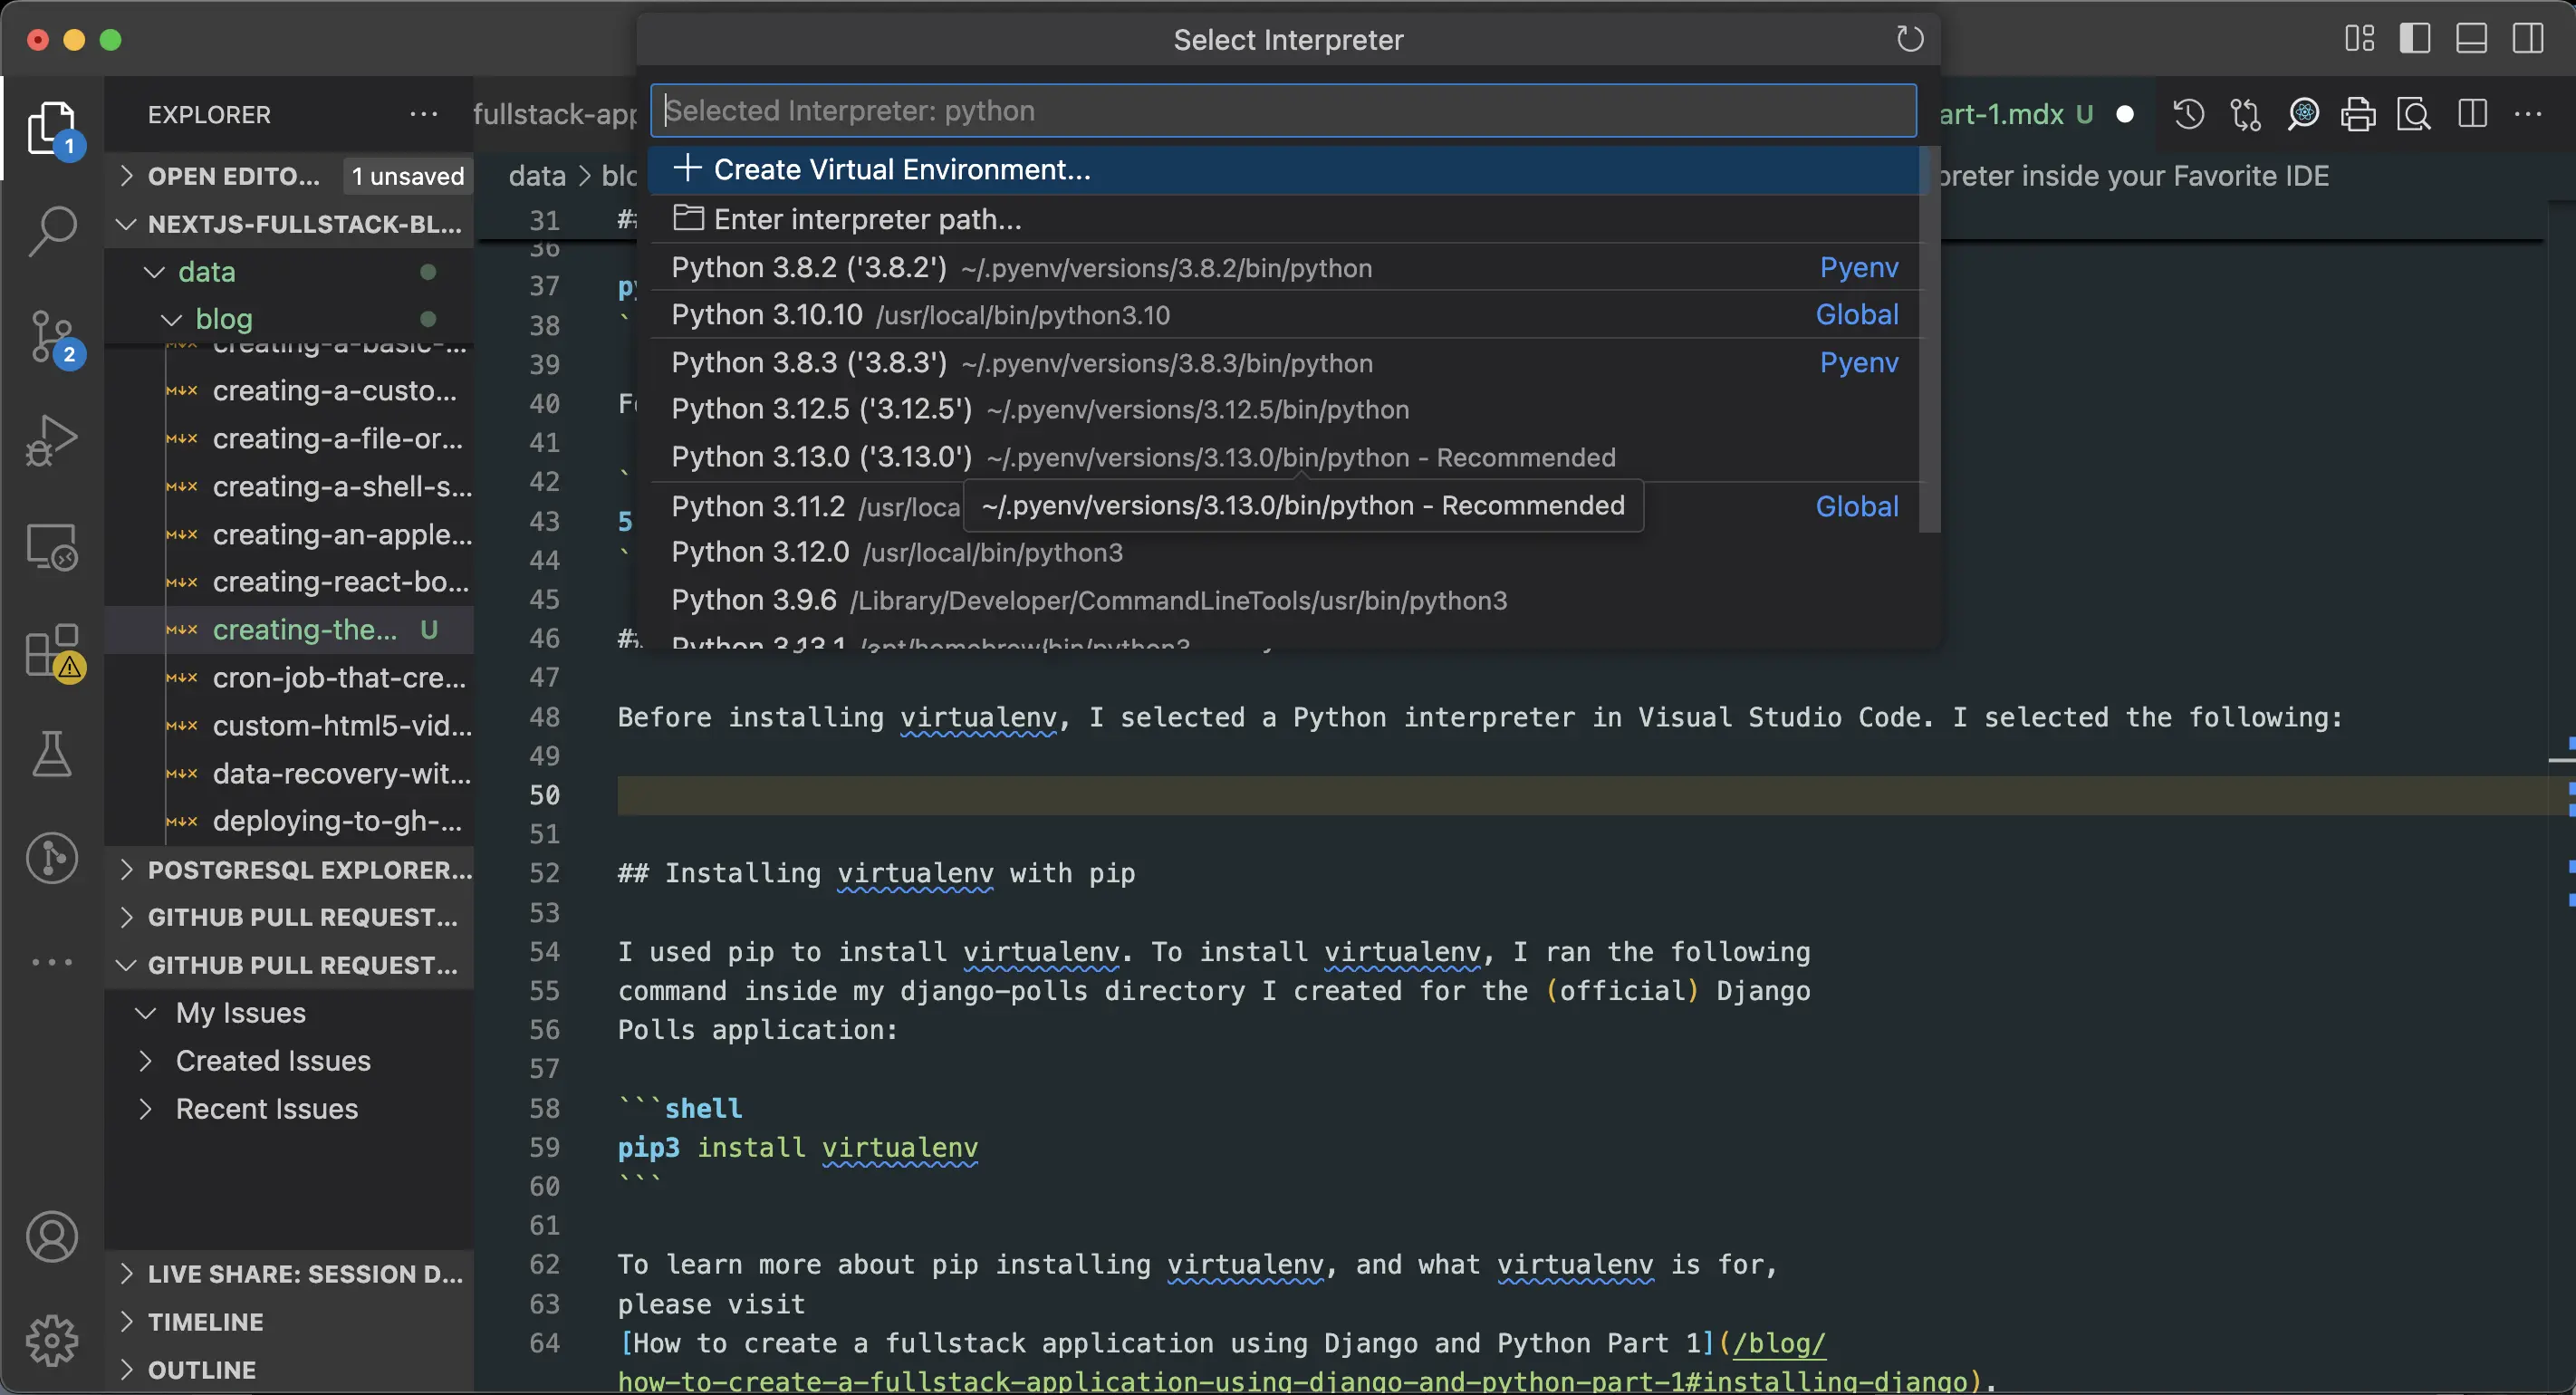
Selecting a Python interpreter
I selected '3.13.0'.
Installing virtualenv with pip
I used pip to install virtualenv. To install virtualenv, I ran the following command inside my django-polls directory I created for the (official) Django Polls application:
pip3 install virtualenv
To learn more about pip installing virtualenv, and what virtualenv is for, please visit How to create a fullstack application using Django and Python Part 1.
Creating a virtual environment for the Django Polls
To create a virtual environment with the virtualenv command, I ran the following in Terminal:
virtualenv venv -p python3
Next, I ran the ls command to make sure that my virtual environment had been successfully created:
ls
# which returned the following:
venv
Activating the virtual environment
To activate the virtual environment I just created, I ran the following command:
source venv/bin/activate
This command is used to activate a virtual environment in Unix-like systems such as Linux and macOS.
- source is a built-in shell command that reads and executes commands from a file in the current shell session.
- venv/bin/activate is the path to the "activate" script in the virtual environment directory (if the virtual environment is actually named venv).
- The "activate" script sets up the environment variables needed to use the virtual environment.
When I run source venv/bin/activate, it modifies my shell session to use the Python interpreter and libraries located in the venv directory instead of the system-wide Python installation. The command prompt changes to indicate that I am now working within the virtual environment. For example, when I activate my venv virtual environment, my command prompt changes to the following:
(venv) mariacam@Marias-MBP ~/Python-Development/django-polls main ●
(venv) is added to the beginning of the command prompt.
Deactivating the virtual environment
In order to deactivate the virtual environment, I ran the following command in Terminal:
deactivate
Since I was going to continue working on Django Polls, I did not deactivate it. My virtual environment needs to be activated in order to be able to develop my Django application.
Installing Django
To install Django in my Django application, I ran the following command at the root of the Django Polls project (django-polls):
pip3 install django
Now I was ready to continue developing my Django application!
Upgrading Django version
I checked to see what was the latest stable version of Django, and it is 5.1.4. Its end of mainstream support will be April 2025. I upgraded my version of Django by doing the following:
pip install --upgrade Django
The following was returned for me:
Requirement already satisfied: Django in ./venv/lib/python3.12/site-packages (5.1.4)
Requirement already satisfied: asgiref<4,>=3.8.1 in ./venv/lib/python3.12/site-packages (from Django) (3.8.1)
Requirement already satisfied: sqlparse>=0.3.1 in ./venv/lib/python3.12/site-packages (from Django) (0.5.3)
Then I checked my Django version again after exiting my current Terminal session and creating a new one:
python -m django --version
The following was returned:
5.1.4
However, if you had not installed the latest stable version of Django, you can run the following command:
python -m pip install -U Django
-U is short for --upgrade.
Creating a project in the Django web application
To create (start) a new project in my Django application, I ran the following command at the root of the Django application (django-polls) where the venv folder resides:
django-admin startproject django_polls
If I was one directory above django-polls, I could run the following:
django-admin startproject django_polls django-polls
Which is what I did.
Then I cd into django-polls and ran the ls command to make sure that my project was created:
ls
The following was returned:
django_polls manage.py venv
Success!
- django-polls/
  - django_polls/
    - __init__.py
    - asgi.py
    - settings.py
    - urls.py
    - wsgi.py
  - manage.py
  - venv/
django-admin is Django’s command-line utility for administrative tasks.
Django automatically creates manage.py in each new project. It does the same thing as django-admin, but it also sets the DJANGO_SETTINGS_MODULE environment variable so that it points to my project’s settings.py file.
django_polls/__init__.py initializes the django_polls package. It is an empty file and tells Python that the folder it resides in is a package1.
asgi.py2 is created with the startproject command. The startproject command creates the asgi.py file. It is not used by the development server (runserver), but can be used by any ASGI server either in development or in production.
settings.py contains all the project's configurations.
urls.py is responsible for mapping the routes and paths in my project. If I want to display something in a particular URL, I first have to map it here.
wsgi.py3 is a simple gateway interface used for deployment of synchronous applications. asgi.py is used in asynchronous applications.
Initializing Git
The moment I have created files to work with, I initialize Git. I ran the following command inside django-polls in order to initialize Git:
git init
Then I ran git status to see what files were ready for commit.
Next, I created a .gitignore file at the root of django-polls by running the following command:
touch .gitignore
After that, I immediately added the following to .gitignore:
.env
This is where I store (potentially sensitive) environment variables later on. I execute these steps very early on so that there is no danger of sensitive information being leaked to my remote repository on GitHub.
As for using Git in the development of this application, I assume that you already know how to use it. For those that do not, you can check out tutorials such as Ultimate Git And GitHub Tutorial With Examples, Git Branching, or the Official Git project site, for example.
There is a great article on what to add to your .gitignore file for Django projects called Gitignore for a Django project. That's where I first learned what I should add to my Django project's .gitignore file.
Making a first commit
Once I created my django-polls project, created my .gitignore file, and added .env to .gitignore along with other standard files or directories taken from Gitignore for a Django project, I created a remote repository on GitHub. Then I ran the following inside my django-polls directory to push my first commit to GitHub:
git add .gitignore
git commit
git remote add origin git@github.com:interglobalmedia/django-polls.git
git push -u origin main
Then, even though I had already created my project, I wanted to create a new branch for that, so I ran the following command:
git checkout -b create-project
This checked me out into a new branch called create-project, and my project related files and directories were also checked out there, ready to be committed. Normally, I should run the git stash -u command before checking out into a new branch and then running git stash apply to apply those unstaged changes to my local Git repository. but since there was not much there, and it was at the beginning of django-polls development, it was not terrible.
Merging create-project into the main branch
Next, I merged the contents of the create-project branch into the main branch. I added the directories and files and committed them, and then I ran the following:
git checkout main
When I was back in the main branch, I ran the following command:
git merge create-project --no-ff
The reason I use --no-ff is so that each file or directory commit I make before checking out into main appears on remote. This makes navigating through Git history locally and on remote much easier. It does mean more individual commits, but I still prefer this approach.
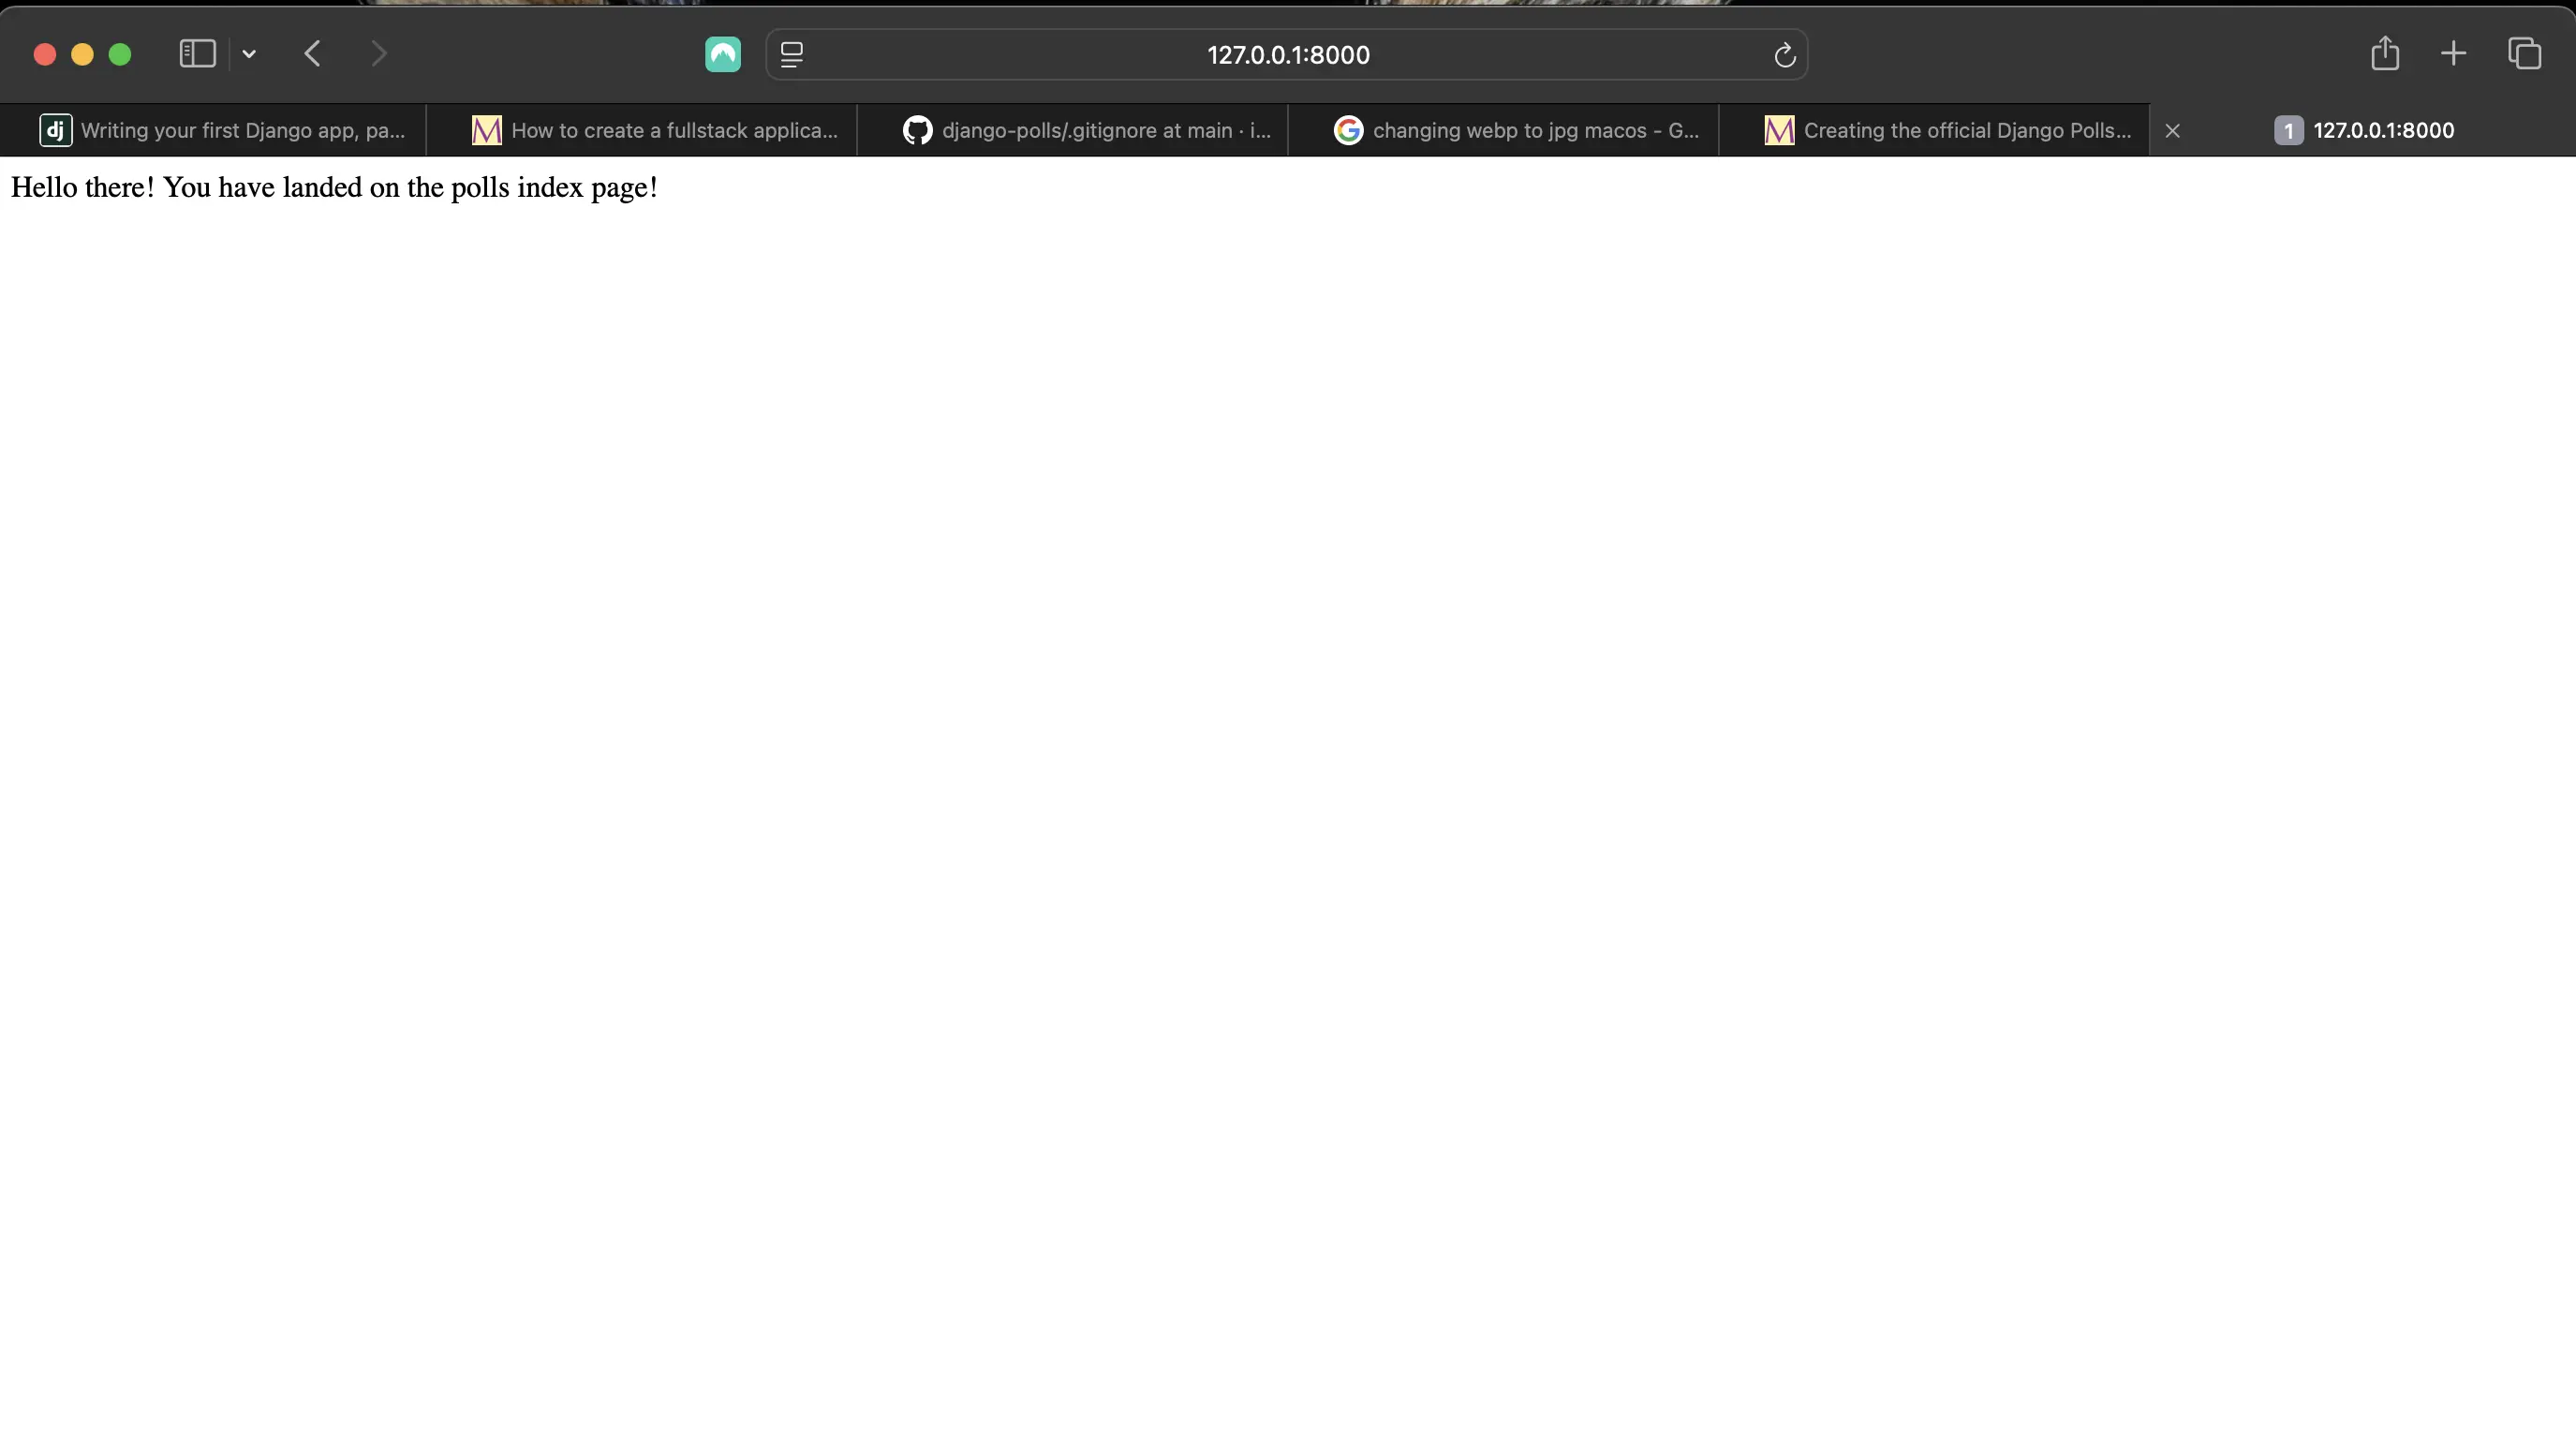
Starting up the Django development server
Django comes with a simple development server. To start up this development server, I ran the following command in Terminal:
python3 manage.py runserver
The first time that python3 manage.py runserver is run, the following is returned in Terminal:
python3 manage.py runserver
Watching for file changes with StatReloader
Performing system checks...

System check identified no issues (0 silenced).

You have 18 unapplied migration(s). Your project may not work properly until you apply the migrations for app(s): admin, auth, contenttypes, sessions.
Run 'python manage.py migrate' to apply them.
December 31, 2024 - 21:35:37
Django version 5.1.4, using settings 'django_polls.settings'
Starting development server at http://127.0.0.1:8000/
Quit the server with CONTROL-C.
For the time being, I ignored the warning about unapplied database migrations. I deal with the database later.
Now I was able to check out my Django application in the browser at http://127.0.0.1:8000/. It should look something like the following:

Result of running the development server
When I run the server for the first time, my db.sqlite3 and django_polls/__pycache__/ is created. That is why the message You have 18 unapplied migration(s) is returned in Terminal when I run python3 manage.py runserver for the first time.
Creating a new branch called running-development-server
Next, I created a new branch called running-development-server and checked out into it.
git checkout -b running-development-server
When I ran git status, the following was returned:
db.sqlite3
django_polls/__pycache__/
This is because I had run python3 manage.py runserver, as I explain earlier.
Creating an app called polls
Now that I have set up my Django Polls project, I can create my first project app which I call "polls". To do this, I ran the following command:
python3 manage.py startapp polls
This created the following inside django_polls:
- polls/
    - migrations/
        - __init__.py
    - __init__.py
    - admin.py
    - apps.py
    - models.py
    - tests.py
    - views.py
Project vs app
The difference between a project and an app is that an app is a web application that does something – e.g., a blog system, a database of public records or a small poll app. A project is a collection of configurations and apps for a particular website. A project can contain multiple apps. An app can be in multiple projects.
My apps can live anywhere in my Python path. I created my polls app inside the django_polls directory.
Writing the first view
To write my first view, I go into polls/views.py and add the following:
# django_polls/views.py
from django.http import HttpResponse

def index(request):
    return HttpResponse('Hello there! You have landed on the polls index page!')
Creating a URLconf for the index view
Next, in order to access it in a browser, I need to map it to a URL. In order to map it to a URL, I need to define a URL configuration or URLconf for short inside polls/urls.py. URLconfs are defined in each Django project app in urls.py.
# polls/urls.py
from django.urls import path

from . import views

urlpatterns = [
    path('', views.index, name='index'),
]
Note that the polls app did not come with a urls.py file by default. I had to add it.
Configuring the global URL configuration
Next, I have to configure the global URL conf defined in django_polls/urls.py. To do this, I added the following:
# django_polls/urls.py

from django.contrib import admin # already there
from django.urls import path, include # include new

urlpatterns = [
    path('polls/', include('polls.urls')),
    path('admin/', admin.site.urls), # already there
]
The path() function defines URL patterns in my urls.py file. It provides a simple way to map URLs to corresponding views.
Syntax:
from django.urls import path

path(route, view, kwargs=None, name=None)
Parameters:
route: A string representing the URL pattern. It can also contain angle brackets (<>) to capture parts of the URL as parameters.
view: A function that is called when the URL pattern matches.
kwargs: An argument which allows me to pass additional arguments to the view function or method.
name: Naming my URL lets me refer to it unambiguously from elsewhere in Django, especially from within templates. This powerful feature allows me to make global changes to the URL patterns of my project while only touching a single file.
The include() function lets me reference other URLconfs. include() excludes the part of the URL that follows the matched part, i.e., polls/, and sends the remaining string to the included URLconf for further processing. In my case here, all polls/ related URLconfs are sent to django_polls/urls.py for further processing. This approach organizes URLs by app, and also makes the global urls.py in the Django polls project much easier to read.
I connected my index view to the index URL pattern in django_polls/urls.py, and was ready to view it in the browser. To do that, I needed to run the following command inside the same directory as manage.py:
python3 manage.py runserver
The following appeared in the browser:
Connecting index view to the index URL pattern in django_polls/urls.py
Committing changes to running-development-server, checking out into main, merging into main, and pushing changes to remote
I committed running-development-server specific changes, and then stashed the rest of them so I could create a new branch called create-poll-app in which I would stash apply those unstaged changes in order to better organize my Git workflow.
git add .gitignore
git commit

git diff django_polls/urls.py # to see what changes I made so I could create a more helpful commit message
git add django_polls/urls.py
git commit
After this, I only had the following left to commit:
polls/
Then I ran:
git stash -u
This stashed polls/ so I could checkout into main without issue.
git checkout main

git merge running-development-server --no-ff
git push origin main

git checkout -b create-poll-app
git stash apply
git stash apply resulted in the following:
git stash apply
Already up to date.
On branch create-poll-app
Untracked files:
  (use "git add <file>..." to include in what will be committed)
    polls/
Now I could commit those untracked changes, checkout back into main, merge create-poll-app into main, and push those merged changes to remote origin on GitHub.
git add polls/
git commit

git checkout main
git merge create-poll-app --no-ff
git push origin main
This ends "Creating the official Django Polls app Part 1".
Code associated with this section
To view the code associated with this section, please visit 95c69a1 and then 66f8db8.
Conclusion
In this section, I create a directory to house my Django Polls application, check if I have Django installed, select my Python interpreter, install virtualenv with pip, create a virtual environment for Django Polls, activate and deactivate the virtual environment, install Django, upgrade Django, create a project in Django Polls, initialize Git, start up the Django development server, create an app called polls, write a first view, create a URLconf for the index view, and configure the global URL configuration.
Related Resources
- Difference Between ASGI and WSGI in Django: GeeksForGeeks
- Specification: developer.mozilla.org
- Writing your first Django app, part 1: Django documentation
- How to upgrade Django to a newer version: Django documentation
- django-admin and manage.py: Django documentation
- 6.4. Packages: Python documentation
- Gitignore for a Django project: djangowaves.com
- Ultimate Git And GitHub Tutorial With Examples
- Django Boards: GitHub repository
- How to create a fullstack application using Django and Python Table of Contents: mariadcampbell.com
Related Posts
- Creating the official Django Polls app table of contents: mariadcampbell.com
Footnotes
-
A Python package is a way of structuring Python’s module namespace by using “dotted module names”. For example, the module name A.B designates a submodule named B in a package named A. Just like the use of modules saves the authors of different modules from having to worry about each other’s global variable names, the use of dotted module names saves the authors of multi-module packages like NumPy or Pillow from having to worry about each other’s module names.
Using a live example, in my Django Boards application, I replaced the default settings.py file with a settings directory which contains a base.py, development.py, and production.py file. Inside the settings directory, there was also an __init__.py file. This indicated to Django that the directory should be considered a package. This is what permitted me then to import base.py, development.py, and production.py into other files and do the following, for example:
↩# django_boards/urls.py ... from django_boards.settings import development, base, production ... urlpatterns = [ path('admin/', admin.site.urls), re_path(r'^media/(?P<path>.*\.jpg|.*\.jpeg|.*\.png|.*\.gif)$', serve, {'document_root': production.MEDIA_ROOT}), ] if development: urlpatterns += static(base.MEDIA_URL, document_root=development.MEDIA_ROOT) -
asgi stands for Asynchronous Server Gateway Interface. It was introduced in Python 3/Django 3, but had limited support. Full support was introduced in Django 4 and later. Python 3 has native syntax for handling asynchronous operations like network calls. WSGI and other synchronous standards can’t take advantage of the enhanced performance and efficiency of async. That also means WSGI can’t handle advanced protocols like WebSocket. ↩
-
wsgi stands for Web Server Gateway Interface. WSGI is a mediator responsible for conveying communication between a web server and a Python web application. It explains how the web server communicates with the app and how the app can be chained for processing a request. It’s vital for deploying a Django or Flask app. ↩